How to Start Card Making: A Beginner's Guide
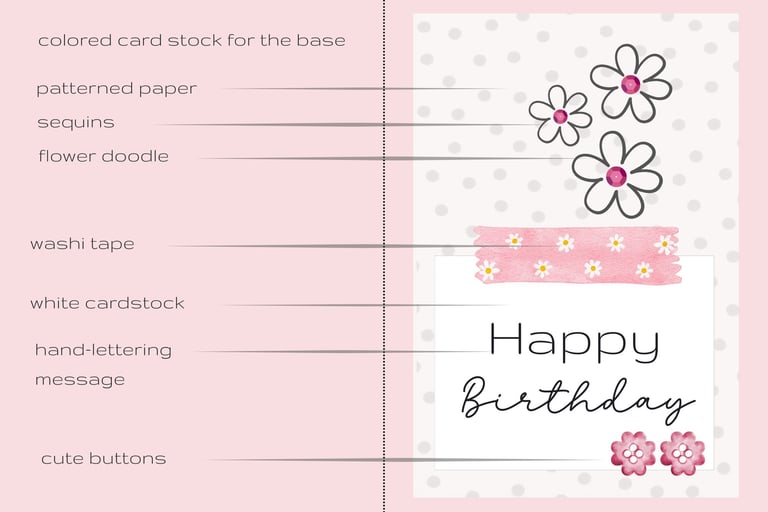
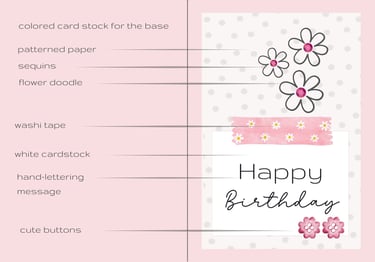
If you're looking for a new creative hobby that’s both fun and rewarding, card making is the perfect choice. Whether you're crafting for birthdays, holidays, or just to send a little love, handmade cards add a personal touch that store-bought ones simply can’t match (not that I have anything against those—I also enjoy making digital greeting cards!). Don’t worry if you're a beginner—this guide will help you get started and inspire you to create beautiful, heartfelt cards that friends and family will cherish. To make things even easier, I’ve created a simple template for your first card, with all the key elements labeled so you can follow along confidently.
Gather Basic Supplies For Card Making
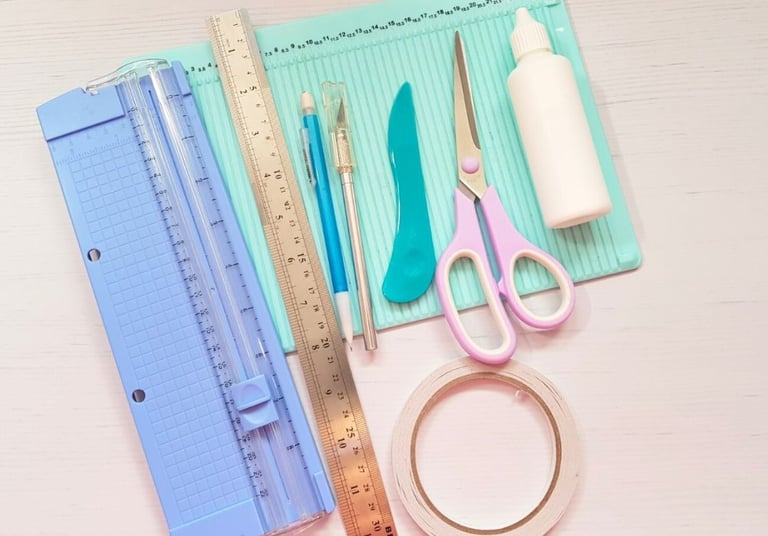
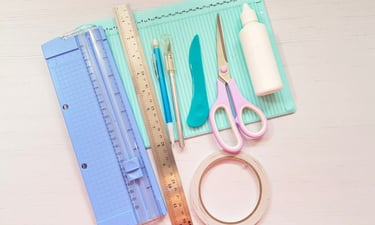
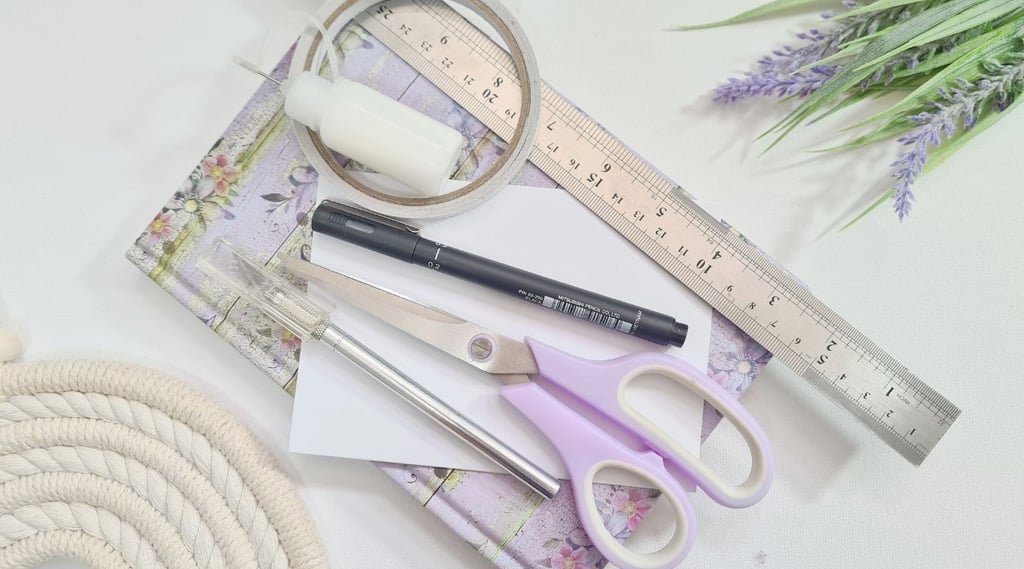
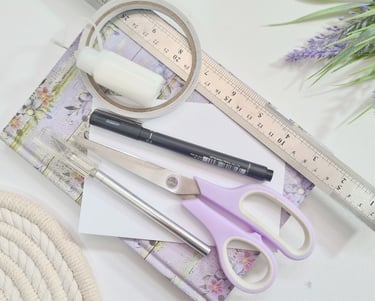
Before diving into your first card, it's important to know what tools you’ll need. As a beginner, you don't have to invest in every fancy gadget right away, but having the basics will make your crafting experience so much easier and more enjoyable.
Here’s what you’ll need:
Cardstock or Blank Cards: Thick, sturdy paper is the foundation of every card. You’ll want to choose at least 80lb or 100lb (220 - 250 gsm) cardstock for the best quality. You can buy already made card bases or cut out yourself from long cardstock sheet.
Scissors & Craft Knife: A good pair of sharp scissors is crucial for cutting paper and other materials. A craft knife and self-healing mat are great for detailed cutting.
Adhesives: Good paper glue, double-sided tape, and foam tape are essential for sticking everything together. Foam tape will add dimension to your designs!
Markers, Pens & Pencils: These are perfect for adding color, shading, and hand-lettering to your cards.
Decorative Paper: Scrapbook paper, wrapping paper, or any colorful paper can be used to add patterns and designs.
Stickers and Embellishments: Add some sparkle with sequins, gems, or washi tape to give your cards a unique touch.
Stamps & Ink Pads: You might not have them when you’re just starting out with card making, and that’s totally fine. But believe me—once you try them, you won’t be able to stop collecting them! They’re perfect for adding custom messages and cute designs. Stamps come in all sorts of themes—floral, birthday, holiday, and more. But if you're just getting started, try doodling your own designs. And instead of ink pads, you can even experiment with eye shadow—that’s what I used in the beginning!
When it comes to card making, paper is everything! You’ll want to choose cardstock for the card base, as it’s thicker and more durable. But there are other types of paper to keep in mind:
Patterned Paper: Great for adding design and texture to your cards. You can layer it behind your focal images or cut it out to create shapes.
Vellum: A semi-transparent paper that’s perfect for layering and adding a soft, delicate effect to your designs.

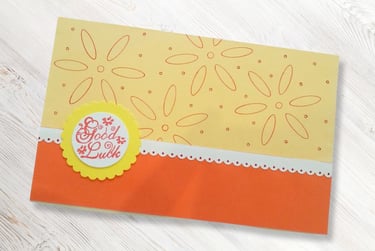
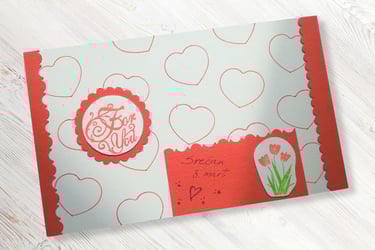
These are some of the first cards I ever made. I used thicker paper for the base, added colored paper where needed, and drew floral and heart patterns using a geometric shapes ruler. I had a sentiment stamp and a pair of decorative edge scissors that I got as a gift—they cut fun patterns into the paper, which I loved! You can find similar tools in most craft stores if you'd like to try them too.
Learn Basic Card Making Techniques
There are many techniques for making cards that you will surely want to try as you gain confidence, but I suggest you start with these simple techniques to create your first cards:
Cutting and Layering: Cut different shapes and sizes of paper to layer on your card base. This adds depth and interest.
Drawing and Doodling: Use markers and pens to draw designs, write messages, or add decorative elements.
Stickers and Embellishments: Add stickers, ribbons, buttons, or other small embellishments to your cards for extra flair.
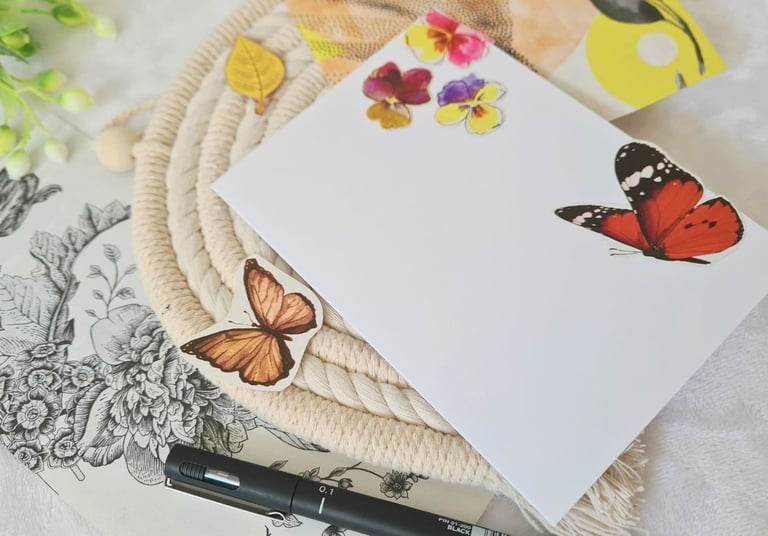
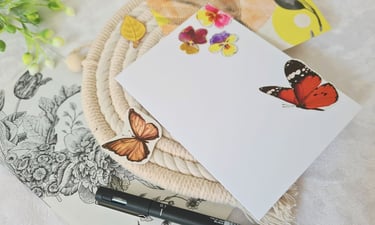
At the very beginning of making cards, I cut out images of flowers, leaves, butterflies, and even border images that I liked from newspapers, glued them onto thick cardboard, and added them to the cards as decoration. I was also using wrapping paper as my patterned paper (you can find more about this topic in this blog post).
Popular Card-Making Techniques to Explore
Once you feel confident with the basics, try these fun techniques to take your cards to the next level:
Embossing: Add texture and shine to your designs with heat embossing. Simply stamp an image, apply embossing powder, and heat it up!
Layering: Experiment with layering different types of paper or embellishments to create depth and dimension.
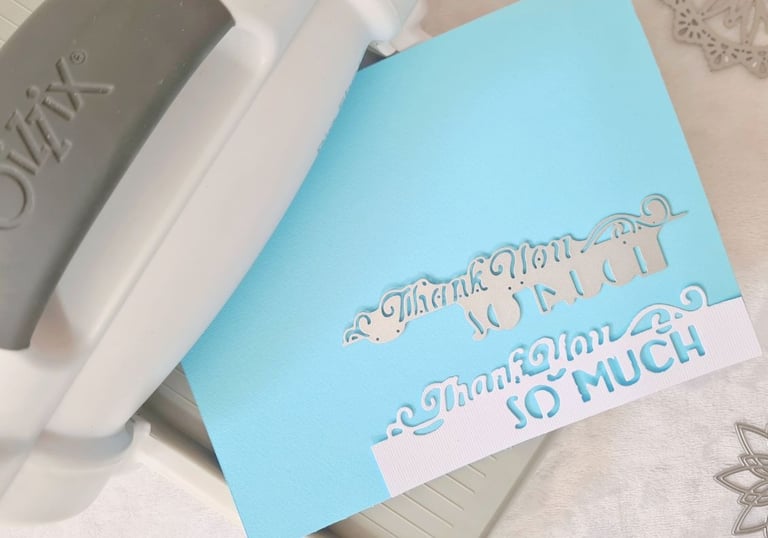
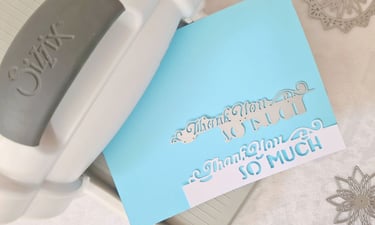
Die Cutting: Use a die-cutting machine to cut intricate designs or shapes from paper, creating professional-looking elements for your card.
Start With Simple Card Design
Here are a few easy card ideas to get you started:
Birthday Card: Use colorful paper and markers to create a festive design. Add a birthday message and some stickers for a finishing touch.
Thank You Card: Layer different shades of paper and write a heartfelt message. Add some decorative elements like ribbons or cute buttons.
Holiday Card: Choose a holiday theme and use festive colors. Draw or cut out shapes like hearts for Valentine’s Day or trees for Christmas. You can also add some glitter if you like.
Practice and Experiment
Don't worry about making perfect cards right away. The key is to practice and experiment with different techniques and materials. As you gain confidence, you can try more complex designs and learn new skills.
Have Fun!
The most important part of card making is to have fun and enjoy the process. There's no right or wrong way to make a card, so let your creativity flow and make something that brings you joy.

Step-by-Step Guide: Making Your First Card
Now that you have your supplies, it’s time to start creating! Follow these simple steps to make your very first handmade card:
Choose Your Design: Think about the occasion—birthday, thank you, or just because—and pick a simple theme.
Cut Your Cardstock: Start by cutting your cardstock to the size you want. A standard card size is 5” x 7” (about 10 x 15 cm), but feel free to play around with different dimensions! If you’re aiming for a 5” x 7” finished card that opens like a book, you’ll need to cut your cardstock to 10” x 7” (20 x 15 cm) and then fold it in half.
Add Layers: Cut patterned paper or another colored cardstock to create layers on the front of the card.
Stamp Your Image: Use stamps—rubber or clear—to add a design or message to your card. You can also try hand lettering if you’re feeling creative! Not sure which type of stamp to choose? I explain the differences between them in this blog post.
Add Embellishments: Use sequins, ribbon, or washi tape to decorate the card. Don’t forget to add a personal note inside!
Adhere Everything Together: Use your adhesive to attach all elements. Foam tape works great for creating a 3D effect and adding dimension.
To make things easier, I’ve created a simple template for your first card, with all the key elements labeled.
Tips for Creating Beautiful Cards
As a beginner, it’s important to keep a few key things in mind to make your cards as stunning as possible:
Keep it Simple: Don’t overdo it with too many embellishments or colors. A clean, simple design often looks the most elegant.
Balance Your Layout: Try to follow the “rule of thirds” where your focal point is placed off-center. This helps to keep the design visually appealing.
Use Colors Effectively: Stick to a color scheme (e.g., pastels, neutrals, or complementary colors) to create a harmonious design. You can also mix and match patterned papers for interest.
Avoid These Common Mistakes as a Beginner
Card making is all about trial and error! But here are a few common mistakes beginners make and how to avoid them:
Overloading the Card: Sometimes less is more! Keep the design simple and let the elements shine.
Wrong Paper Thickness: Ensure your card base is sturdy enough to hold any embellishments. Too thin of a cardstock may cause the card to feel flimsy.
Not Allowing Time for Drying: If you're using liquid glue or ink, give it time to dry before moving the card around.