Die Cutting with Sizzix - Happy Birthday Explosion Box Ideas
When making an explosion box, you don’t have to overcomplicate things. My favorite designs are simple, with just a few colors - nothing too bright or bold. I love using pastel hues because they’re easy to mix and match, gentle on the eyes, and always give a neat, polished look.
Happy Birthday Explosion box Design
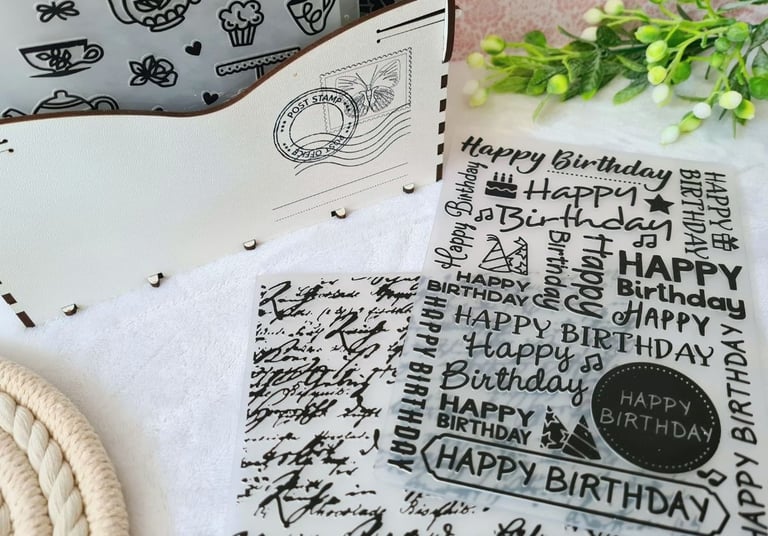
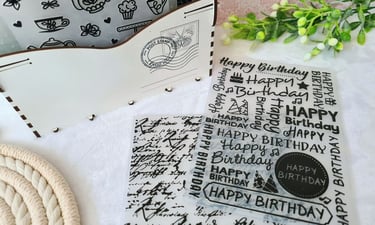
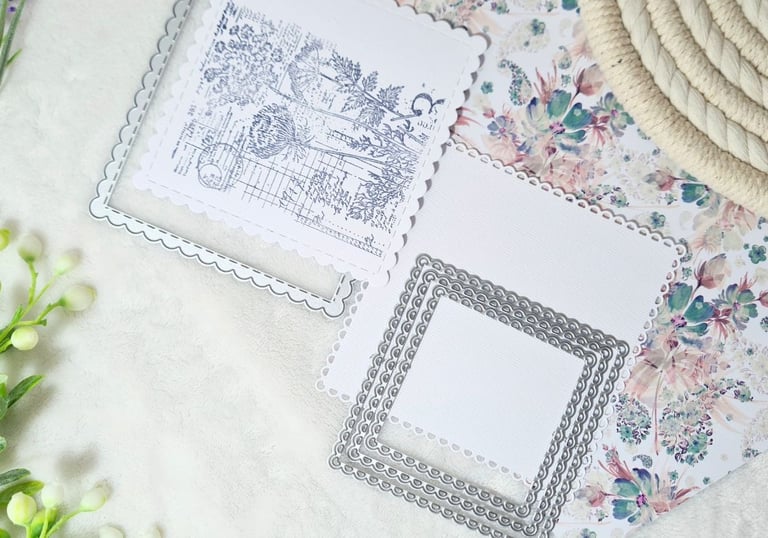
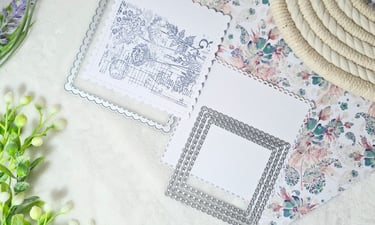
To make this birthday explosion box, I kept it simple with just two cardstock colors - white and pink. What really made it special and adorable were the various die cuts I used, along with clear stamped motifs that I colored with markers. I made a short video about this box and you can check it out on my YouTube channel here.
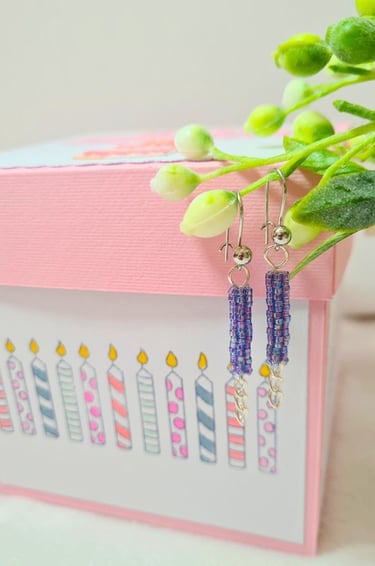
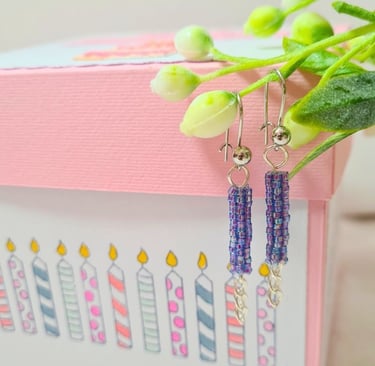
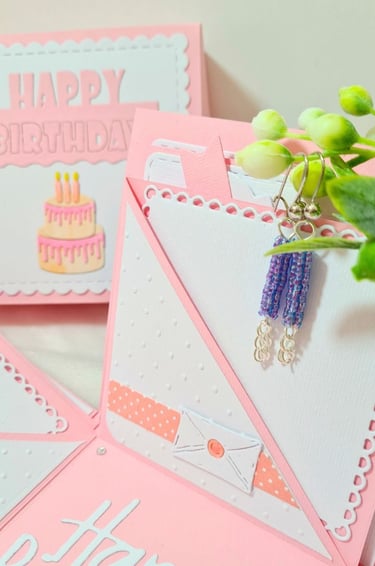
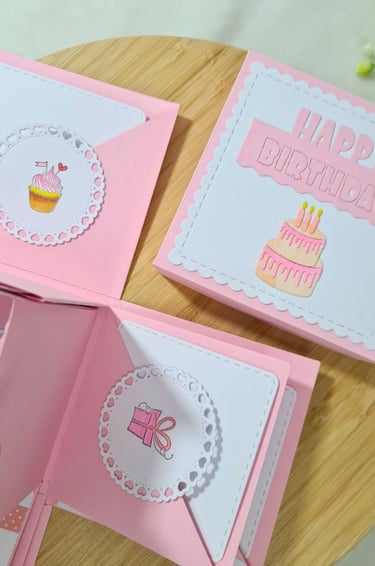
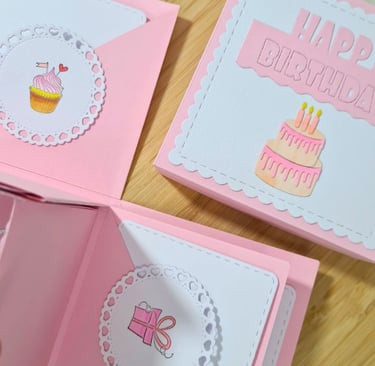
For the lid, I used a birthday cake die cut along with a ‘Happy Birthday’ sentiment die cut. I cut the cake from white cardstock and colored the pieces to match the look I wanted. This saves time and ensures I get the exact colors I need, especially when I don’t have the right cardstock shade on hand. The sides of the box were stamped with candle designs and colored in various shades for a fun, festive touch.
One thing I didn’t do this time—but I think would have looked even better - is adding some dimension to the elements on the lid. Lifting them up a bit would create more depth and give it that nice 3D effect. So if you want that extra pop, definitely go for it!
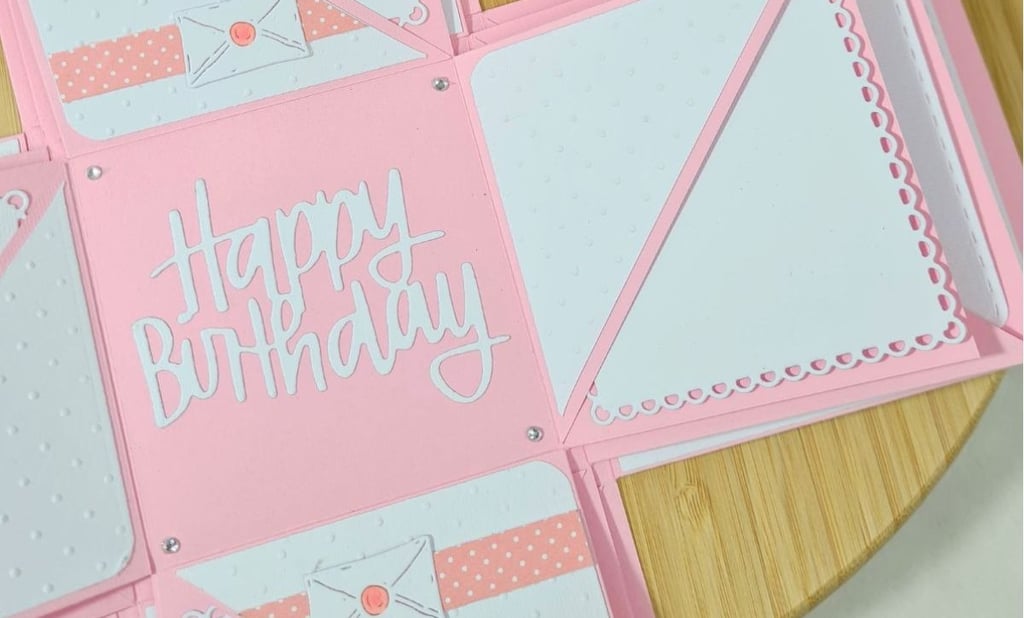
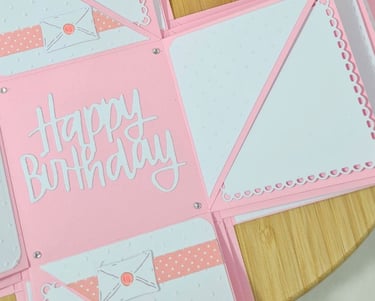
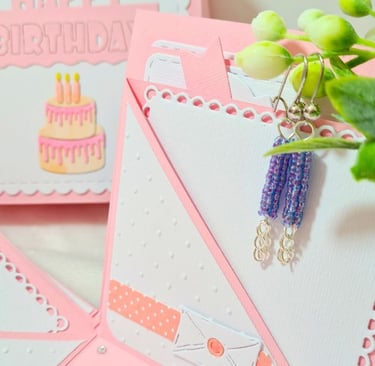
I think I’ve already mentioned that I prefer explosion box designs without corners - where squares 1, 3, 7, and 9 are usually cut into heart shapes and left undecorated. Instead, I like turning these corners into pockets. Not only does this add a fun interactive element, but it also helps the sides of the box fall more easily when opened. You can actually hear the satisfying 'flop' as the pages drop! But that’s just my personal preference.
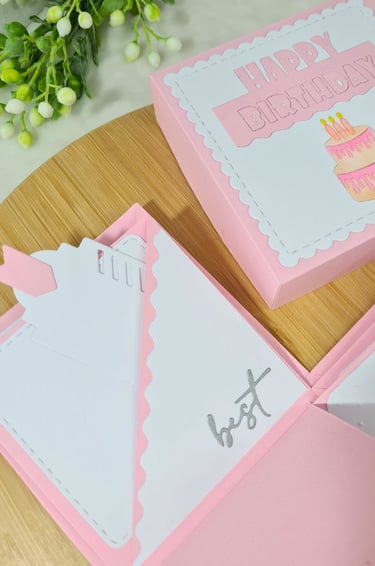
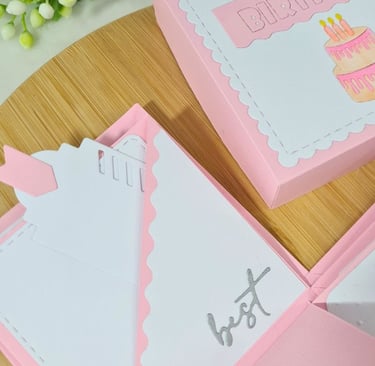
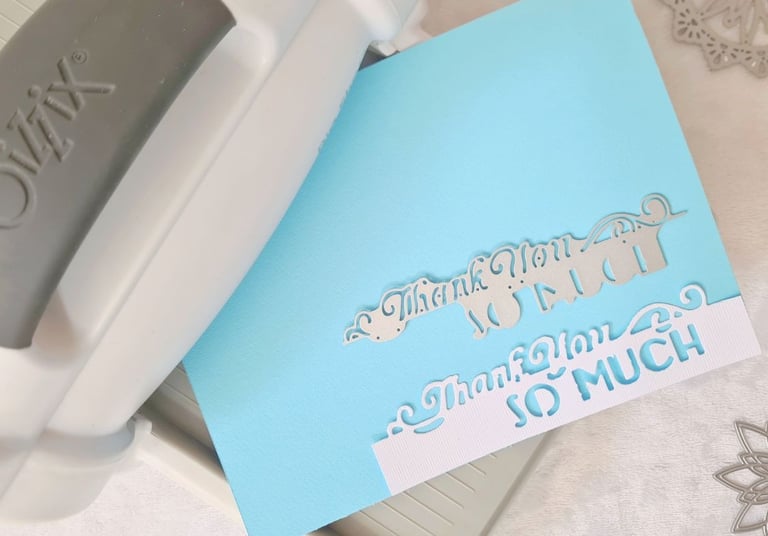
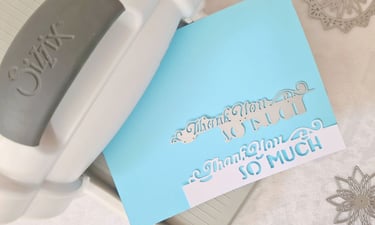
I made each pocket with its own little card for a message or a photo, usually adding stitched edges for a nice finishing touch. I also included some die-cut gift tags as extra details. To make the pocket ‘triangles’ more fun, I like to cut them with wavy-edged crafting scissors, emboss them, or stamp them with an interesting pattern. Adding die-cut sentiments like 'best' and 'wishes' made these triangles stand out even more.
For the pockets without ‘triangles,’ I kept the decoration simple. I added a die-cut circle with decorative edges and stamped the center with festive designs like a cupcake or gift box, coloring them to match the explosion box’s color scheme. On some pockets, I used pink washi tape and attached a die-cut envelope for an extra touch.
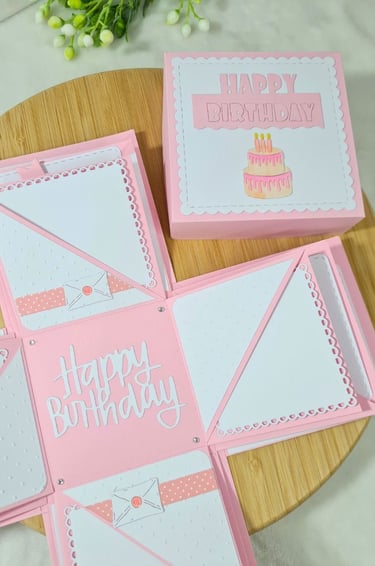
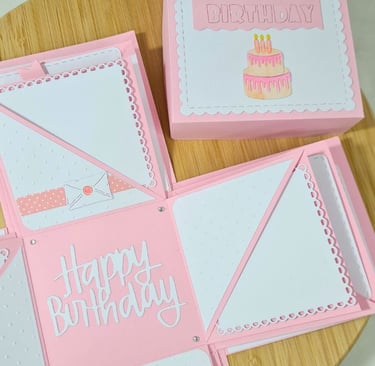
In the center of the box, I placed a ‘Happy Birthday’ sentiment that really pops when the box opens! To make this handmade explosion box even more special, I put a pair of handmade earrings that I made using beads and put them in the center of the box (did not just drop them but put them in a small jewelry box).
By simply changing the color scheme - using blue instead of pink - coloring the stamped motifs in blue hues, and adding elements like clouds or hot air balloons, you can easily transform this design from a girl's explosion box into one perfect for a boy. I hope you’ll give it a try!