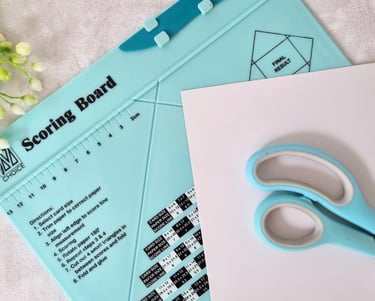
How to Use Scoring Board and Corner Punch to Make an Envelope

When I make cards, I usually don’t have a specific size or dimension in mind. Some are rectangular, some are square, and some are irregular shapes or even circular. Because of this, it’s been hard to find the right envelope - one that will "fit like a glove," as they say, for my card.
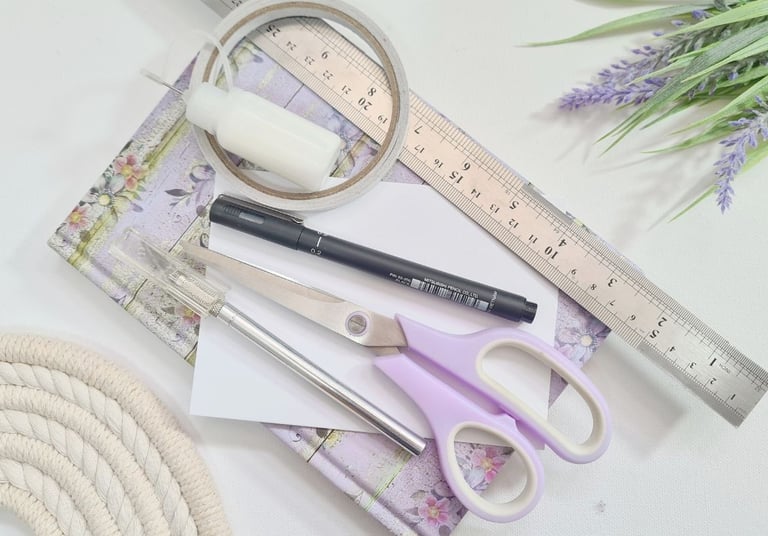
That’s where the scoring board comes to the rescue. It’s not only for making envelopes but also incredibly useful for achieving a clean, crisp folds of any paper craft project (instead of the cracked or uneven crease you might get when folding by hand). The scoring board allows me to create what I need more efficiently, and I highly recommend having it in your crafting toolkit. I also enjoy using a corner punch and notch punch alongside the scoring board, as it helps me create clean and even edges and corners. If you decide to get these tools, this* set includes both scoring board and corner punch.
*this is an affiliate link, which means I may earn a small commission if you make a purchase through it, at no additional cost to you
Now, let’s explore how to use the scoring board in combination with the corner punch.
Step-by-step tutorial
Scoring boards usually come with the instructions but here you'll find some extra steps to make your envelopes special.
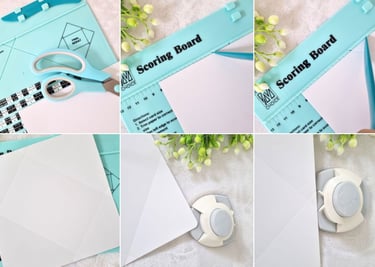
Each scoring board features a chart that lists various envelope sizes (when folded), the corresponding paper sizes needed to create those envelopes, and the required scoring measurements (which will be explained later). Your first step is to choose the envelope size you want to make and then cut the appropriate paper size accordingly. I needed a 9 x 13 cm envelope, so I cut a piece of paper measuring 18.5 x 18.5 cm, as indicated on the chart.
The scoring measurement tells you where to align the left edge of the paper. In my case, that’s at number 8.
Using the scoring knife (comes with the scoring board), score along the scored lines from the top left to the bottom right, and from the top right to the bottom left.
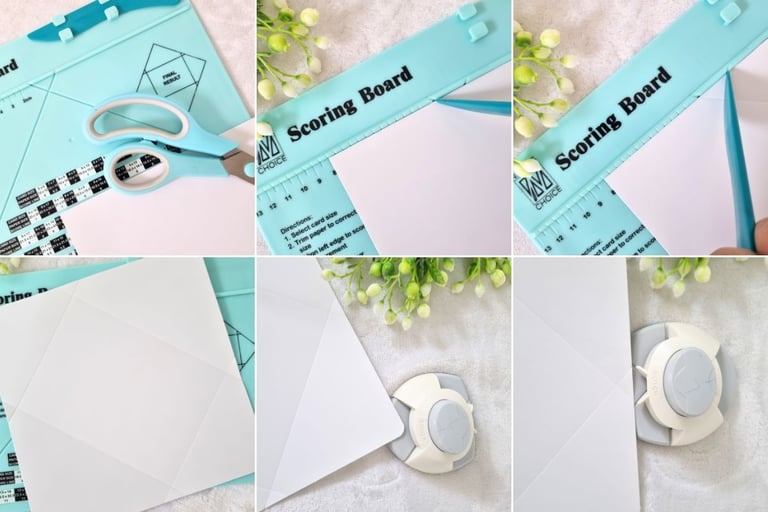
Rotate the paper 180 degrees and repeat the previous step.
After making these four steps, you should have a scored paper like shown on the fourth picture.
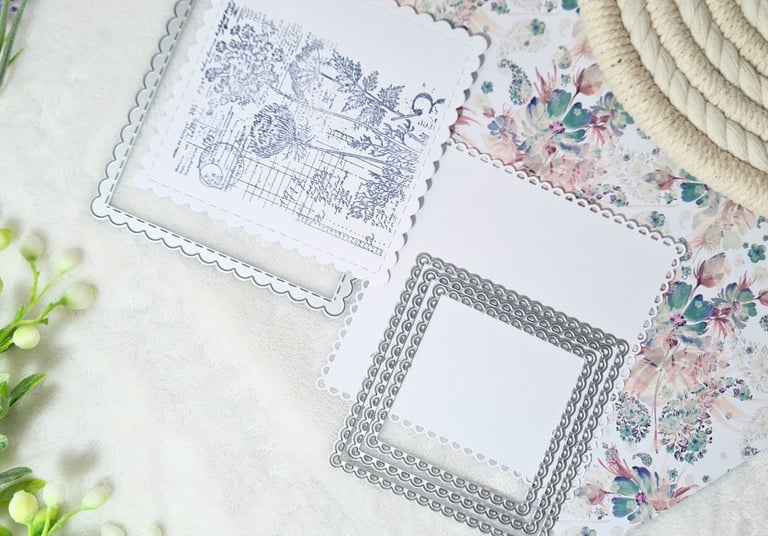
Use the corner punch to round the edges. This will give the final result a more polished and professional look.
Instead of using scissors to cut away the excess paper where the lines intersect, I use a notch punch to give the corners a cleaner look. Simply place these sections into the notch punch, ensuring that the paper lines and the punch's guide lines are aligned. After completing this step, your envelope base should look like the example shown in picture number 9.
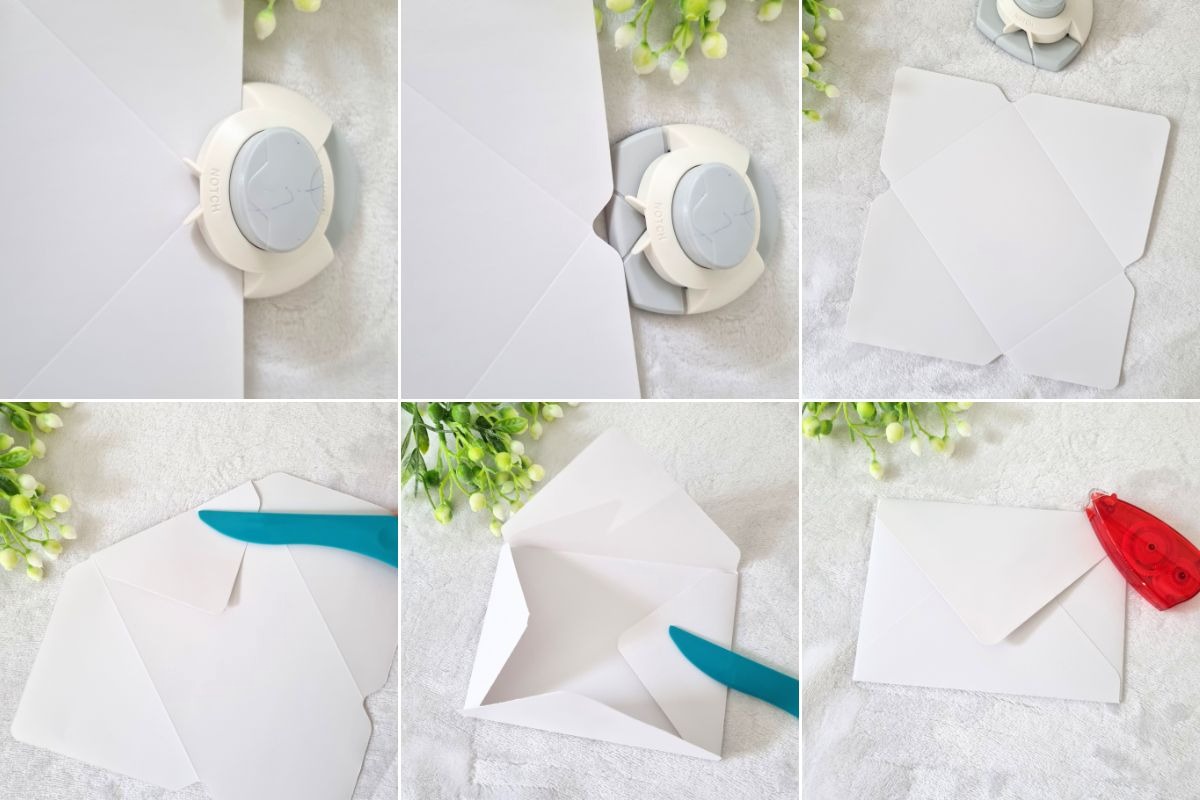
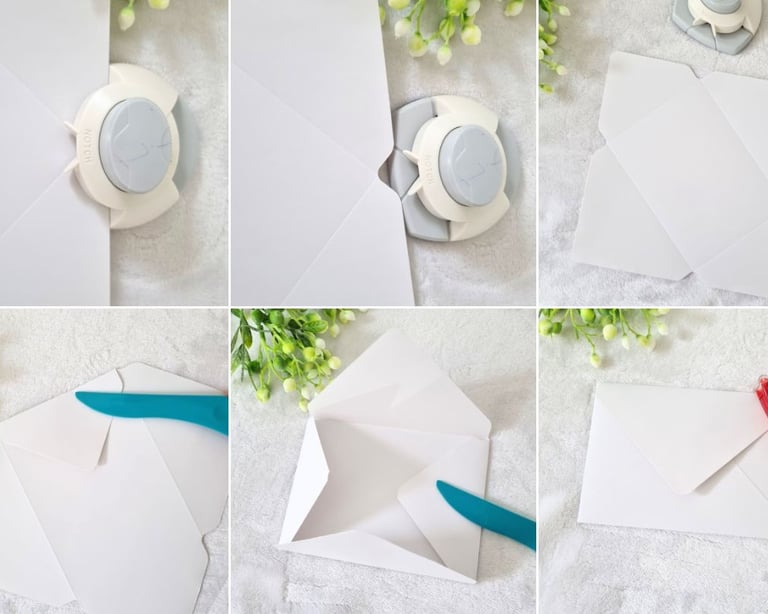
Using the scoring knife, fold the sides of the envelope, ensuring that the more polished side of the paper faces outward (you can easily recognize it by the edges.).
Use double-sided tape (I prefer double-sided roller tape) to assemble the envelope.

Additional tips
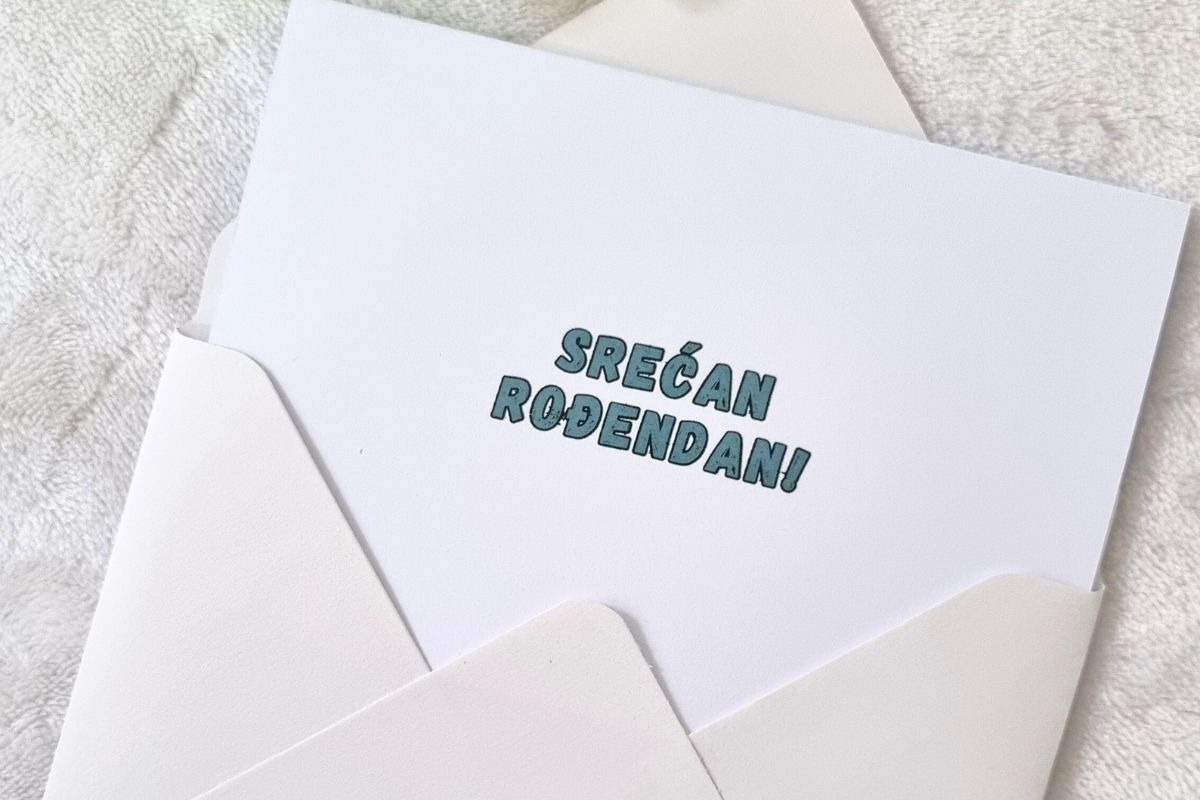
The final look of the envelope will resemble the one shown in the picture above. If you’re not fond of the middle part sticking out (like a mountain), you can trim the excess before gluing it or fold it inward;
If you’re making an irregular card shape, be sure to measure its widest points before choosing the appropriate envelope size;
If you're using thinner paper to make an envelope, be careful not to press the scoring knife too hard, as it can cut through the paper.
Additional Ideas
Use stickers to seal the envelope;
Add stamps on it (text or illustrations);
Use decorative punchers for corners or edges;
When I create a card for a customer, I like to use thin cords to wrap the envelope, ensuring it arrives without any wrinkles. I also include a sticker inside or apply thin double-sided tape along the edges, allowing the customer to seal the envelope after writing their message.