Summer Birthday Greeting Card
Many of my friends and their children were born during the summer months. Since I love making greeting cards, birthdays are always an opportunity for me to find some free time for creative work and to rest my soul working with paper and everything else that accompanies the making of a greeting card.
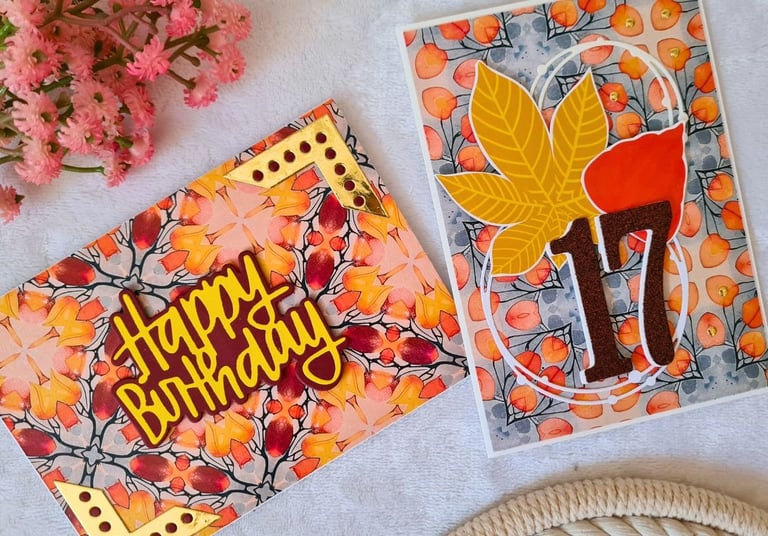
Summer is associated with a variety of cheerful motifs, but this time I decided that ice cream would be the main feature of my birthday card. Additionally, I made another card using the same elements (the same clear stamp and the shape of it, the same embossing folder and sentiment) but in a different way to show you how the same card making elements can be combined in various ways. Having a few cards on hand in case of an emergency is always a good idea.
Material, tools and tips for making a Summer Birthday Greeting Card
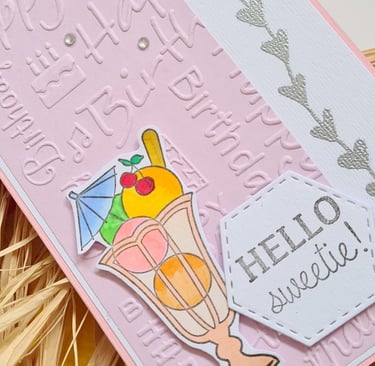
First of all, you need to have in mind for who are you making a card. In my case, it was a card for a little girl so I made it in pastel pink as the main color with a "hello sweetie" sentiment. Cute and colorful ice cream and glossy hearts are also something that little girls like so I put it in there too. Here is a list of material I used to make this pastel pink summer-themed card with tips about how you can alter it your way:
white and pastel pink card stock (you can use bright and vivid pink to make a card really stand out, or use a bold patterned paper)
embossing powder and a heat embossing gun (if you do not have this tool, you can always doodle little hearts by hand)
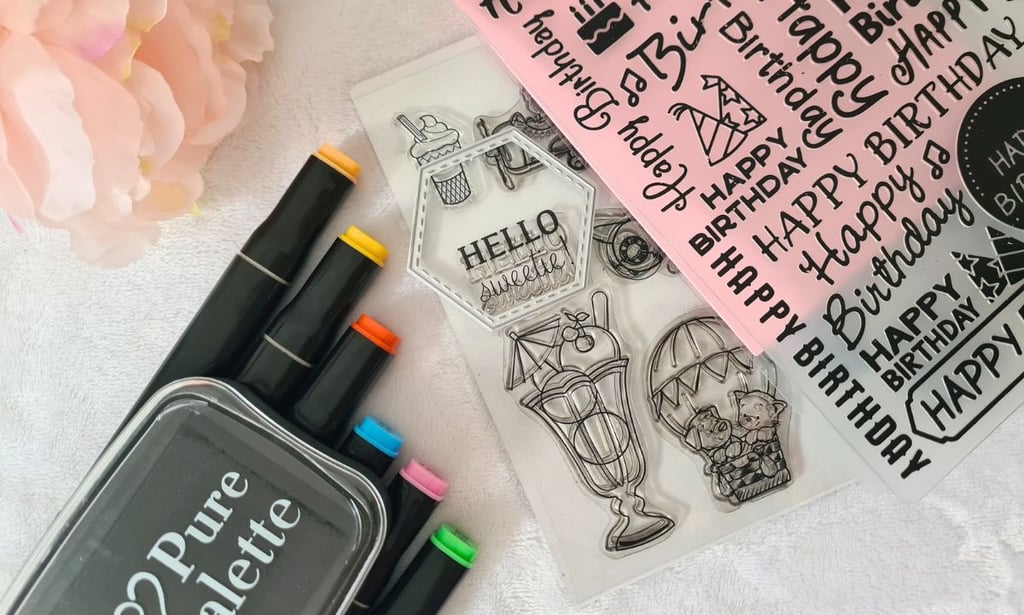
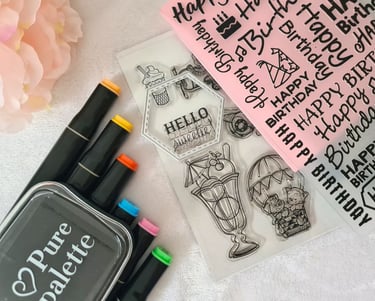
"hello sweetie" clear stamp and a clear stamp of an ice cream (or any other summer-themed motif of your choice)
ink pad (choose a color that suits the best your design or a color you or card receiver prefer)
coloring markers (or other coloring tool you prefer - wooden coloring pencils, watercolors, acrylic paint etc.)
decorative small crystals (or some shining glue dots, or you can even not putting at all if you know that person do not like glitter or sparkle)
birthday-themed embossing folder (again, if you do not have this tool you can doodle yourself some motifs or put some discreet patterned paper instead)
stitched die cut (or simply cut by hand the free look of your sentiment shape, text can be written in hand if you do not have the needed text sentiment)
glue or double sided tape (and double sided foam tape if you want to make a 3D effect with "lifting" some card elements)
Sizzix Big Shot cutting machine (this is the main tool for a handmade card making so if I forget to list the machine as a necessary tool, it is assumed that it is necessary)

Take a look at a short video about making this card.
Step by step on how to make This summer greeting card
If you already have a card design on your mind, I suggest that you make all individual parts first and than just put them all together. If you are a beginner, I hope that steps listed down below will help you put your handmade greeting card together:
cut out pink card stock in desired size (this one is the one that will be folded in half)
heat emboss right side of the white card stock and glue it to a pink card stock base
emboss pink card stock using embossing folder and glue it to the left side of white background card stock
stamp ice cream and sentiment on a white card stock
color the ice cream motif and cut it out by hand using scissors
using shaped die cut, cut out the text sentiment
use double sided foam tape to glue ice cream motif to a card
use double sided foam tape to glue text sentiment next to a bowl of ice cream
add embellishments
Extra tip: Alternative to clear stamps and coloring
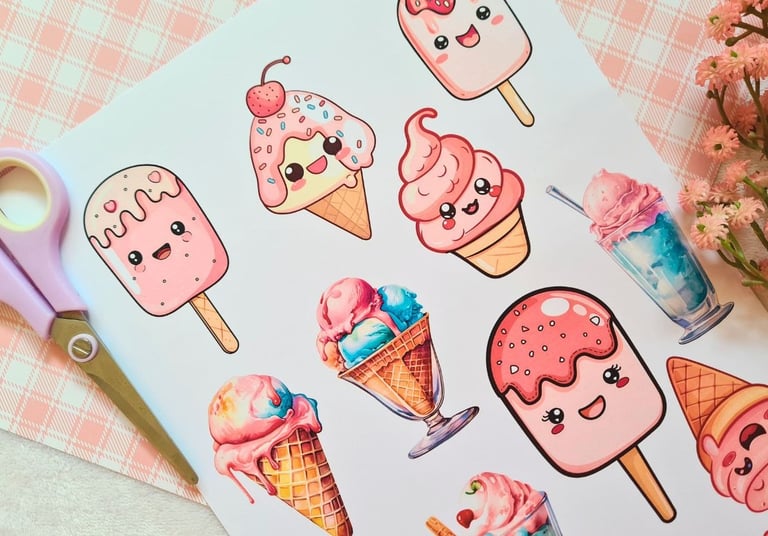
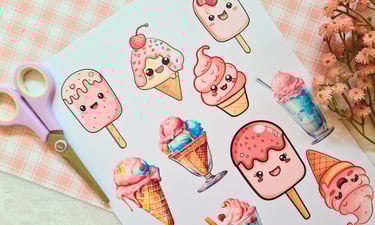
I am far from being good in coloring, so if that is the deal with you too, or you do not have clear stamp you need or you do not have clear stamps at all, here's an alternative. Instead of using clear stamps and trying to color it the right way so it would look nice, you can get this digital ice cream clipart, print it on a paper sheet, cut it out and glue on your card. It's easier, takes less time to make a card if you're in a hurry, and it always looks good regarding the finish result.
I hope you got inspired by this post and that you got at least one new idea on how to make your next card. I would be really happy if that is the case. Stay creative!
Disclosure: Some of the links from this blog are affiliate links. This means that if you click on the link and make a purchase, I may earn a small commission at no extra cost to you. Your support helps keep this blog running and it means a lot to me. Thank you!
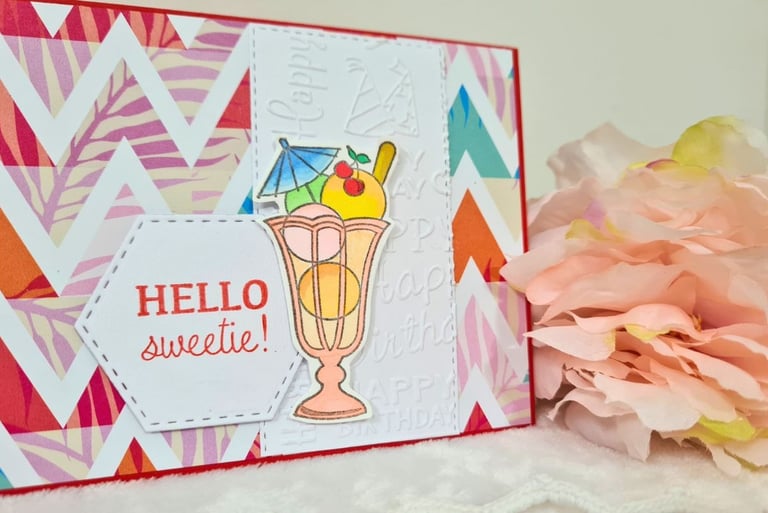
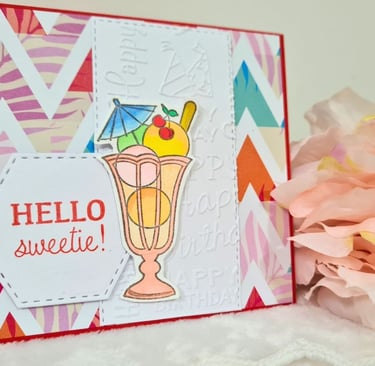
Same card, different style: This card, regarding making process is easier to make since there is no heat embossing involved, but there is a bold patterned paper as a background instead. To match the background, I used red ink to stamp the sentiment.