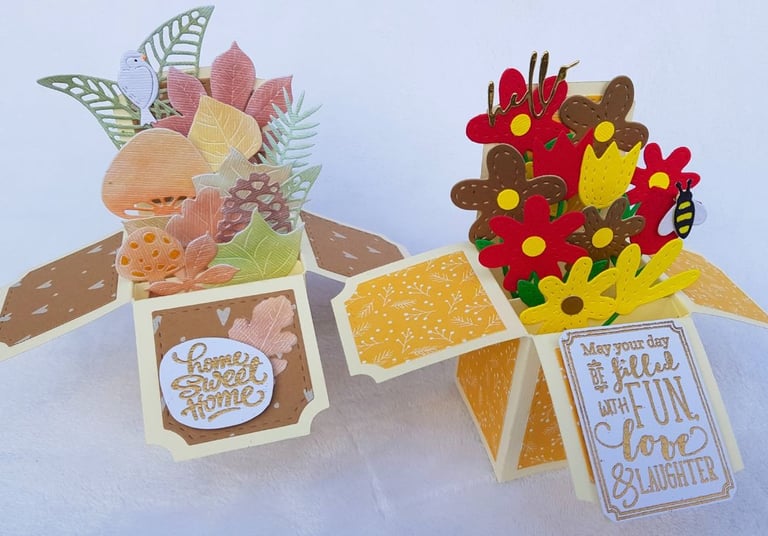
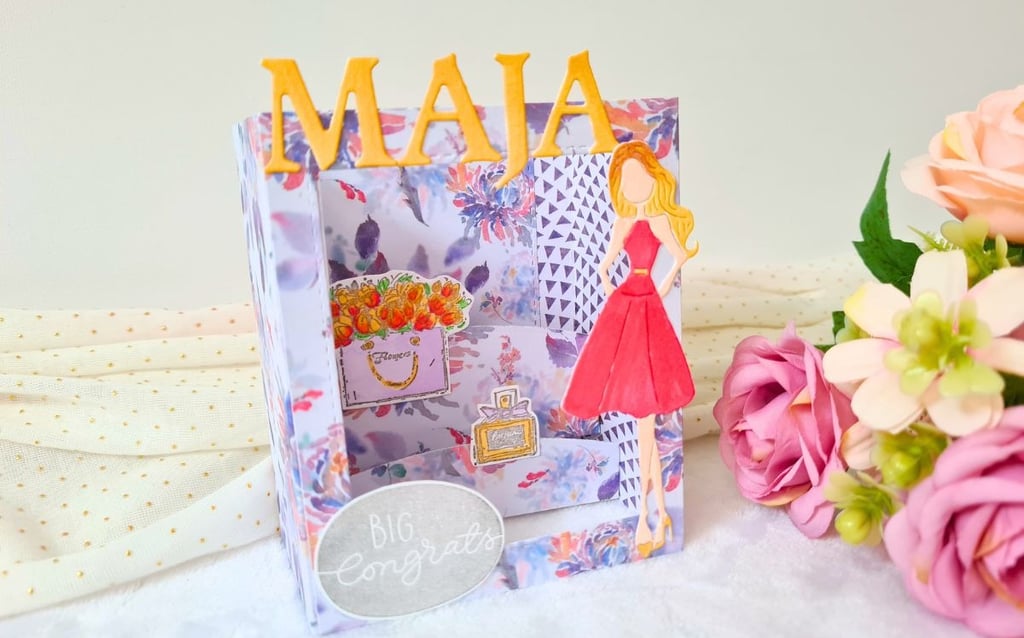
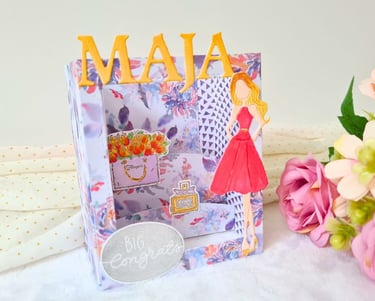
3D Card Idea - How to Make a Shadow Box Card
Milestone birthdays, graduations, weddings, or the birth of a child are some of the most meaningful moments in a person’s life. Whenever one of these special occasions happens to my friends or family, I'm always inspired to create a 3D congratulations card. It’s my way of showing how genuinely happy I am for them, while also giving them a decorative piece they can display at home to remind them of these important moments and how blessed they are.
how to make a 3D Shadow box Card
There are many variations of this type of card, but here are some basic steps to help you create your first shadow box card:
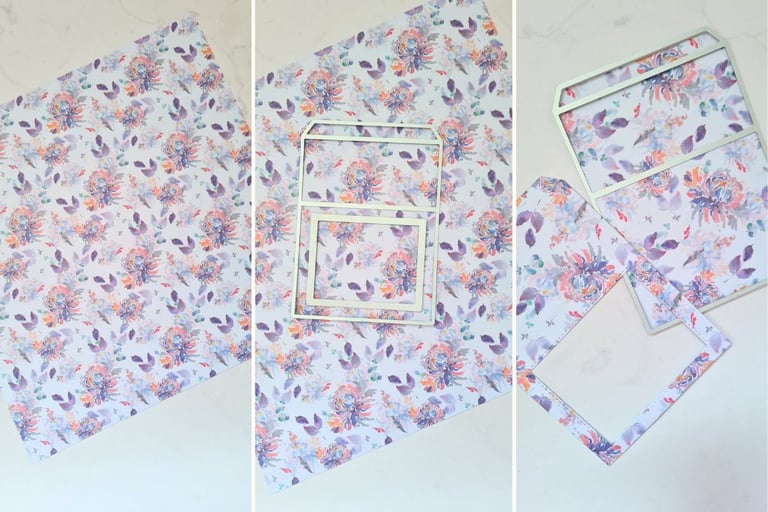
Start by choosing the patterned paper or cardstock for the card's base. Depending on your design preference, you can opt for double-sided patterned paper, paper with one patterned side and one blank, or even solid white or single-color cardstock. The size of the paper you select should match the card size you want to make. For my project, I used a 12x12 inch sheet to ensure I had enough material for all the card's elements.
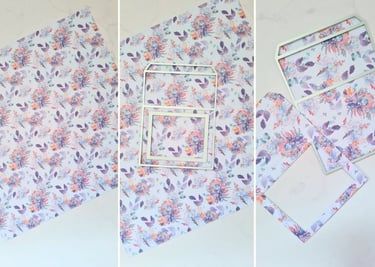
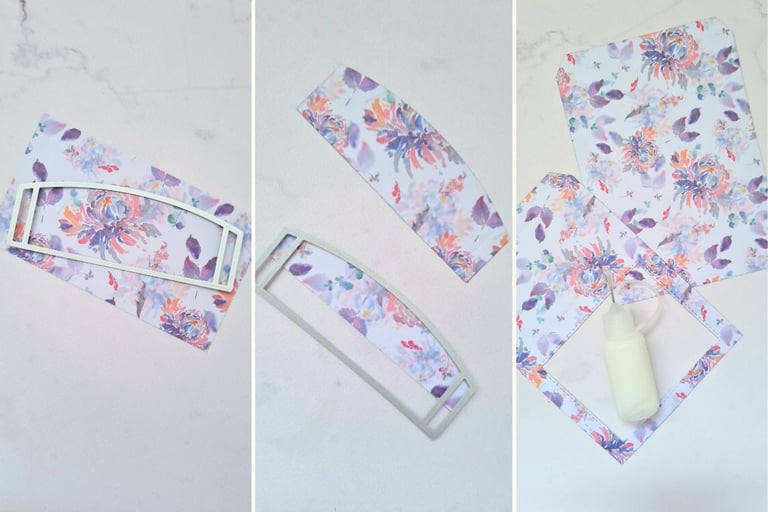
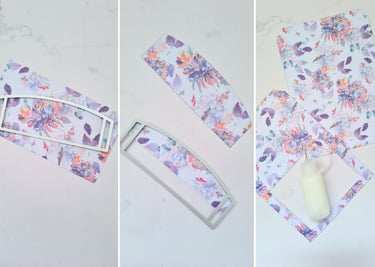
Use a die cut to create the shadow box card base, or make your own base using ruler and paper knife.
Cut two identical pieces for the base, but on one of them, on the part which is supposed to be the front of the card, cut out a 'window' as well.
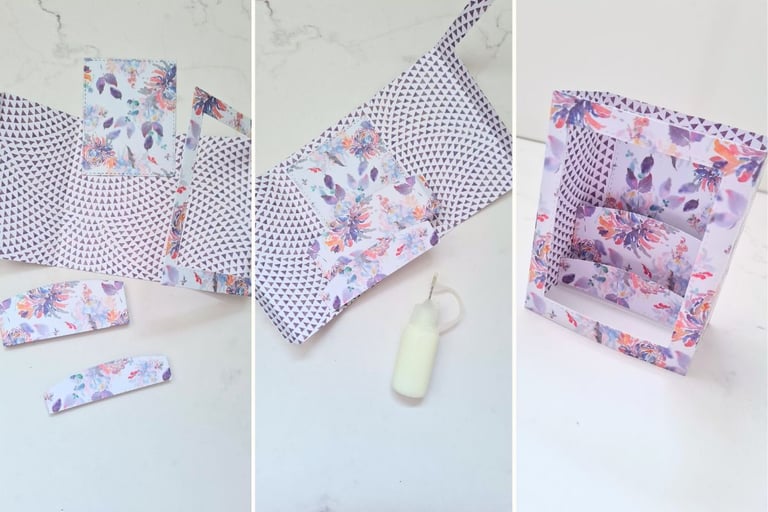
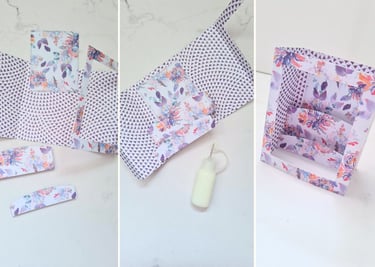
You'll add the decorative elements by attaching them to the 'strips' or 'panels' that connect the opposite sides of the card's 'frame.' Choose your desired paper to cut these strips. If you're creating your own strips, make sure they match the width of the assembled card, plus at least an extra 1/4 inch on each side for easy gluing to the card base. The number of strips is up to you, but I recommend using at least two to give the card some depth.
Cut the connecting strips in varying sizes - the strip closest to the 'window' should have the smallest height to create a layered effect.
Apply glue along the connecting edge of one card base, attach to the other base, but don’t glue the other connecting edge yet - this will leave the card open for adding other elements.
Glue the leftover piece from the 'window' to the inner background 'wall' of the card. Alternatively, you can use it to write your message and attach it to the outside back of the card for a personal touch.
Fold the left end of each strip and apply some glue to it. Arrange the strips so that the one closest to you is positioned at the lowest level, and the one farthest from you is positioned at the highest level. Position the folded end on the left side of the card base without the 'window.' Next, fold the right end of the strips to create a guiding line, then straighten them again. Apply glue to the right end and overlap it with the right side of the card base that has the 'window.' Press firmly to secure.
Finally, glue the left connecting edge of the card base to complete the shadow box structure. You may need to trim the connecting edge slightly (from step 3) for a clean, finished look.
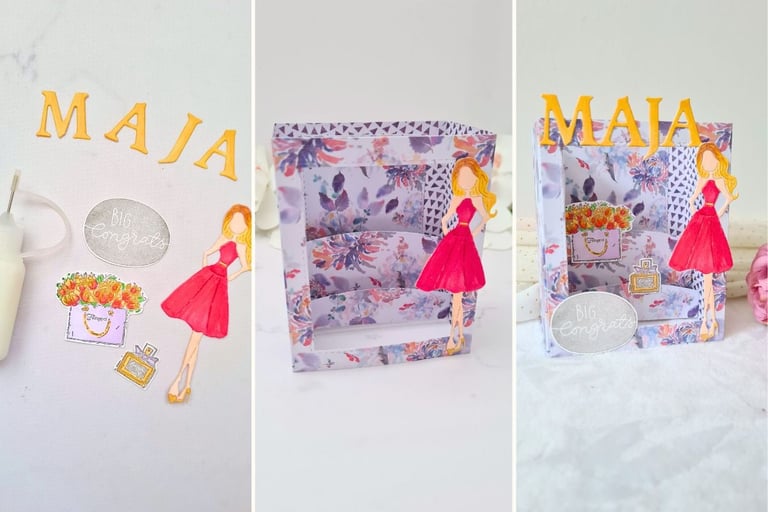
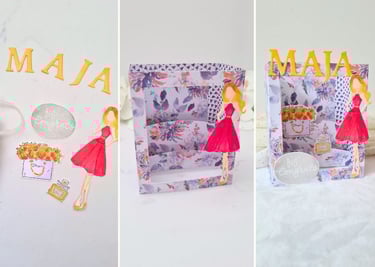
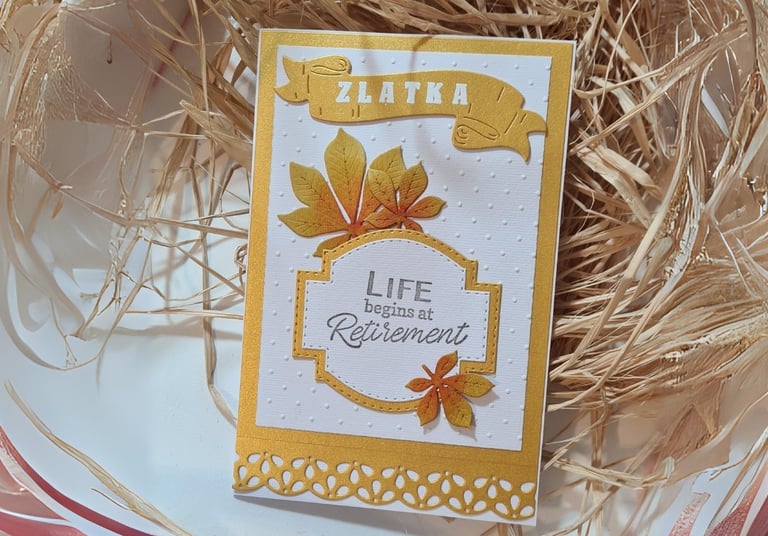
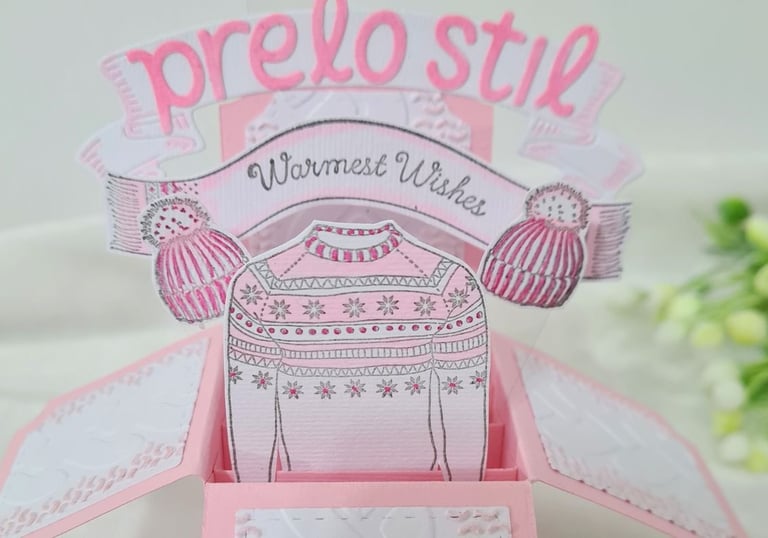
With the shadow box complete, it's time for the fun and creative part! Depending on the occasion, choose decorations for your card - such as colored clear stamps, die-cut pieces, names, text, or anything else you like.
Attach your decorative elements to the desired positions. While you could add these elements in step 8, I prefer to do it at this stage for a clearer vision of the end result. It can be a bit tricky, but using a precision needle-tip glue bottle and scrapbook tweezers can make the process easier. Note: The links provided are affiliate links, which means I may earn a small commission at no extra cost to you if you make a purchase through them. Your support helps keep this blog running.
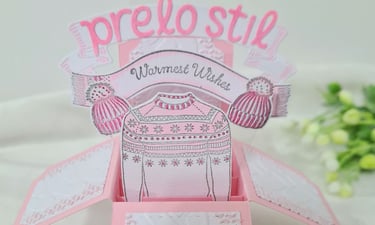
I hope this card has sparked some inspiration for your next handmade project. I truly enjoy making shadow box cards and have created many over the years, each one holding a special place for me. I’m planning to write a blog post to showcase some of them, so stay tuned!