Cricut Cake Topper Ideas for Beginners (SVG Designs I’ve Tried & Recommend)
If you’ve ever wondered can you really make beautiful cake toppers with a Cricut? — the answer is absolutely yes. And the best part? You don’t need anything complicated to get started.
For all of the cake toppers in this post, I used a Cricut Maker 3, a standard grip mat, and the fine point blade (the one that comes with the machine). If you decide to experiment with shaker toppers using craft foam, you’ll need a deep point blade—but if you’re building your shaker layers using cardstock, the fine point blade will work just fine.
All of the designs you’ll see here are made using SVG files from Creative Fabrica. I’ll include links so you can explore them and try them yourself. (This post contains affiliate links, which means I may earn a small commission at no extra cost to you.)
Tools and Materials You'll Need
These are basic tools and materials you'll need to make cake toppers using Cricut:
Paper glue
Craft glue
Double-sided foam tape
Straws or sticks
Cardstock and paper (solid, patterned, glitter, glossy—mix and match!)
Craft foam (optional, for shaker toppers)
Acetate foil (optional, for shaker toppers)
Embellishments (glitter, pearls, half beads, etc.)
In this post, I’m sharing only the toppers I haven’t covered in my earlier blog posts (you can check those here):
One thing I love about SVG files is that they usually come with multiple elements. You don’t have to use everything exactly as designed—feel free to leave parts out or mix elements from different files to create something truly your own (I do this all the time!).
Tips & Tricks for Making Cake Toppers with Cricut
Before we jump into ideas, here are a few tips that will save you time and make your toppers look even better:
If you don’t have multiple shades of the same cardstock color, a simple marker can help you create them. For example, you can turn one pink sheet into several shades just by lightly coloring parts of it.
Cutting very small pieces can take a lot of time. Instead, I often skip those tiny elements and draw them with a white gel pen (take look at a Mermaid cake topper) or a marker. You can also use small shape punches (circles, stars, hearts) to replace them. This works perfectly for things like sprinkles, dots, or tiny decorative accents.
Don’t be afraid to get creative. You can combine SVG elements with die cuts (like Sizzix), add embellishments, or personalize your topper with a name or number.
If you want to hide the straw at the back, create an extra layer using the Offset function in Design Space and glue the straw between the layers.
For shaker toppers, instead of craft foam, you can stack 4–5 layers of cardstock. This creates enough space for the filling to move nicely without sticking to the acetate.
When you upload your SVG into Design Space, try recoloring the elements right away using colors you actually plan to use. It helps you visualize the final design much better.
I find “on-straw” toppers work best for taller, stacked cakes. For flatter cakes, you can attach acetate or baking paper to the back and add small plastic picks (like the ones used for candles) so the paper doesn’t touch the cake directly. For smaller elements, wooden sticks work great to keep them upright.

As for size, I usually make my toppers about a inch (2-3 cm) smaller than the cake on each side so they don't overpower it.
Cake Topper Ideas (Using SVG Files)
For Girls
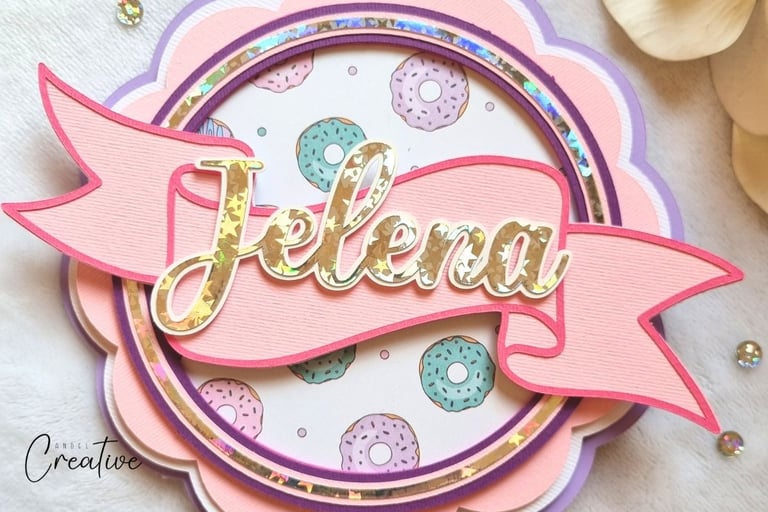
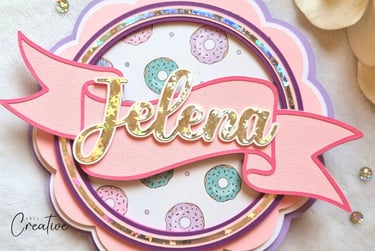
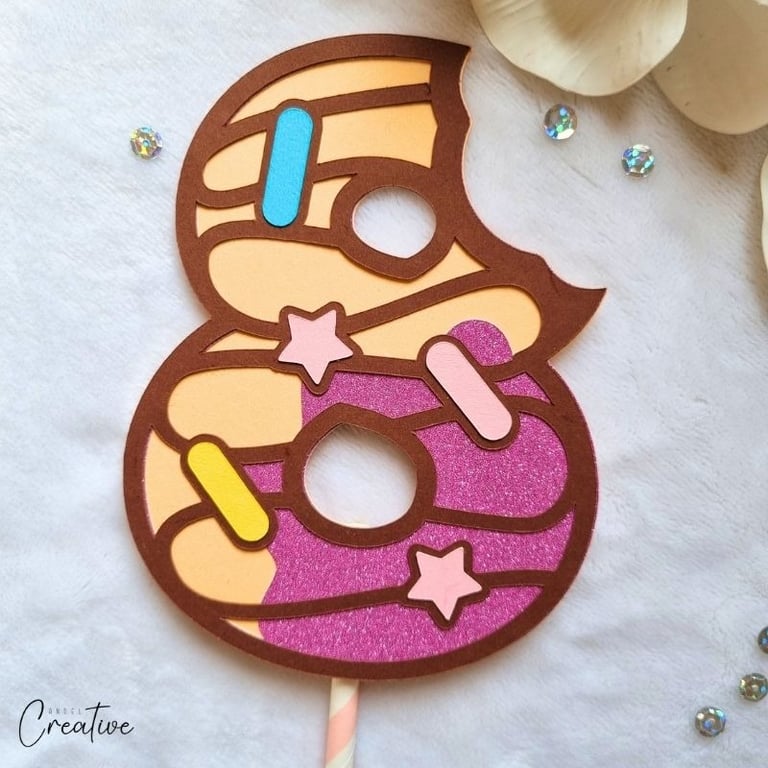
Donut Number
This is one of the easiest and quickest toppers to make. I used six colors of cardstock (pastel orange, brown, pink, yellow, blue, and light pink), but you can easily reduce that by using a white base and coloring the small details like sprinkles with markers.
To make it more interesting, try adding a layer of glitter cardstock. If you want extra dimension, use foam tape between layers or double up small elements like stars and sprinkles.

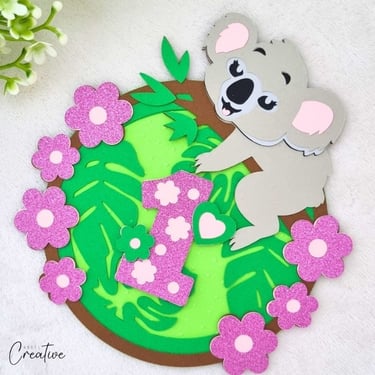
Cute Koala
This was actually the first cake topper I ever made. I kept it simple and glued everything flat, but you can easily add dimension using foam tape or even turn it into a shaker design.
It uses around nine cardstock colors, but you can simplify it using the marker trick mentioned earlier. You can also skip elements like numbers and replace them with a name or sentiment.

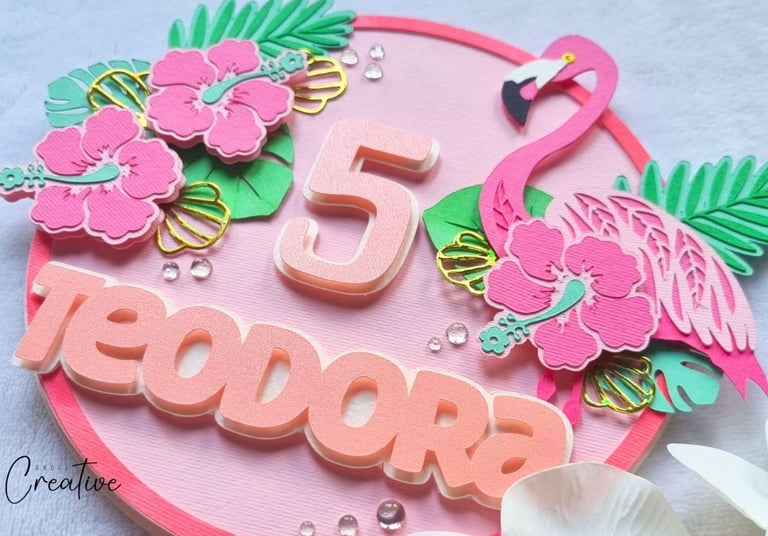
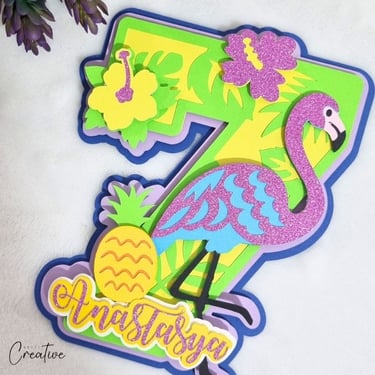
Flamingo Number
This topper is such a fun choice for girls’ birthdays. Bright, vivid colors really bring it to life, and adding a name at the bottom makes it feel extra special.
A touch of glitter cardstock can make a big difference here—because let’s be honest, a little sparkle always works beautifully.

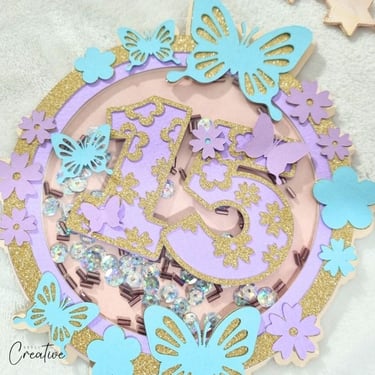
Butterflies Attack
A lovely, elegant design that doesn’t require too many colors—just four, including one glitter layer.
It’s a great option for teenage girls. I added a shaker element, but you can keep it simple or adjust the number of butterflies and flowers depending on your style.

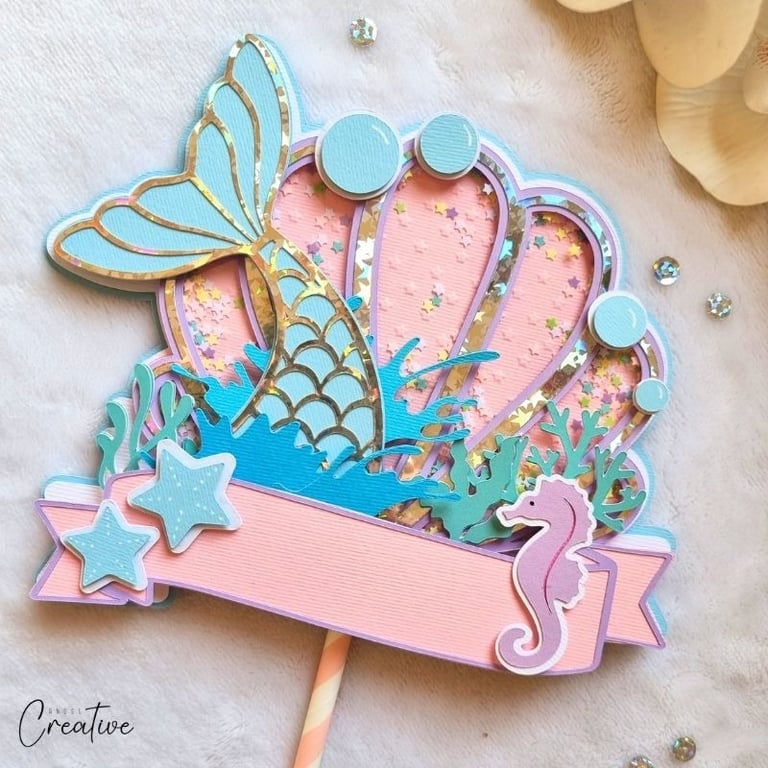
Mermaid Cake Topper
I absolutely love under-the-sea themes, and this one really stands out.
It’s a bit more advanced because of the multiple layers, color shades, and shaker elements, but the final result is worth it. Glitter or holographic paper makes it truly pop.
You can even combine elements from different SVG files to build your own scene. I also like to cut delicate elements (like seaweed) twice and glue them together for extra durability.

For Boys
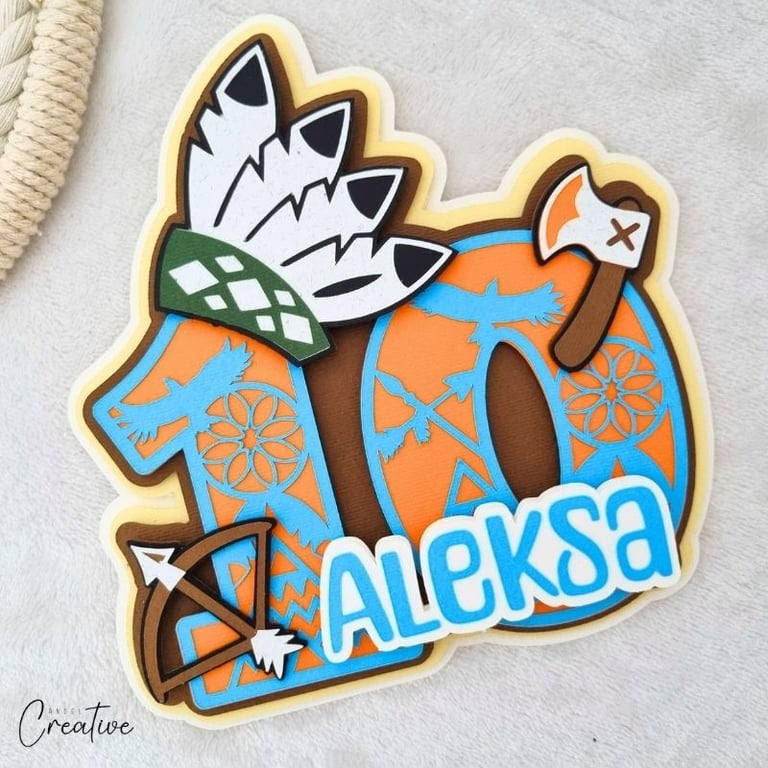
Tribal Number
This design surprised me—in the best way. The combination of orange and blue looks amazing, and it’s always a favorite when people see it. I added a name using a playful font, which made it feel even more personal.

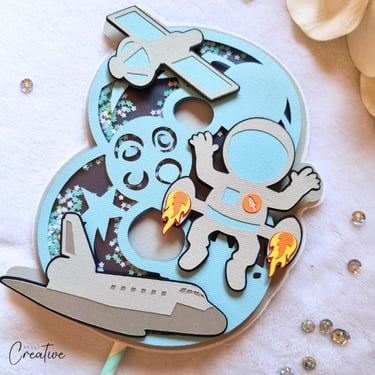
Outer Space Number
This one works beautifully as a shaker topper, although it doesn’t have to be.
You’ll need about six colors of cardstock, but again, you can simplify small details with markers. I used deep blue glitter cardstock for the background to mimic a starry sky—it’s subtle but very effective.

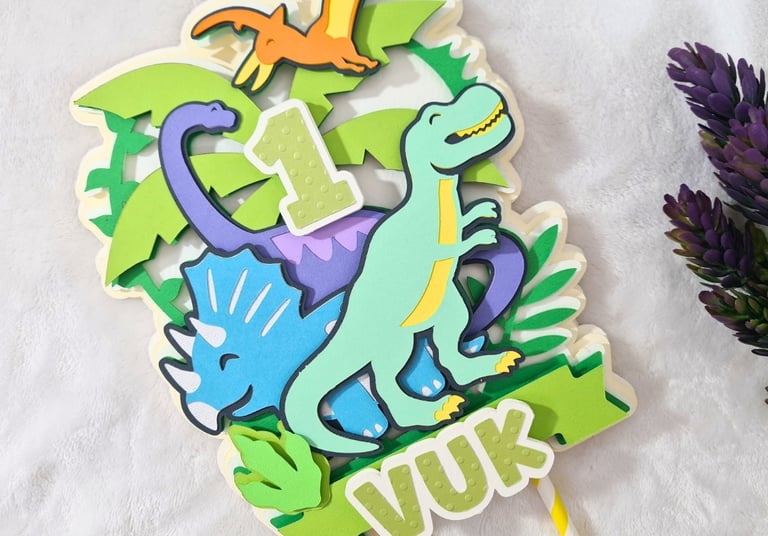
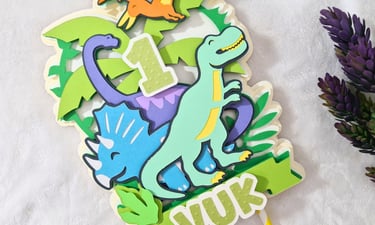
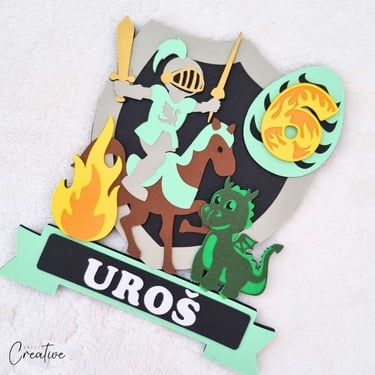
Knight and Dragon
This is also one of my first cake toppers, so it doesn’t have as much depth as some of the others. It might look a bit more complex at first, but it’s really just about layering the cut pieces and assembling the whole design step by step.
If I were to make it again, I would add a bit of shine to the shield and use double-sided foam tape to give dimension to the knight, dragon, fire, and number.
If you don’t need a name, you can simply skip the banner and name elements, or replace them with a short, brave sentiment instead.

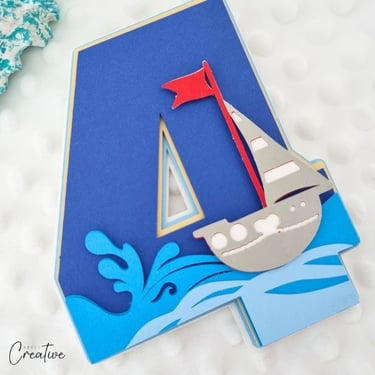
Sailor Number
Simple, clean, and easy to assemble.
You’ll need a few shades of blue and some accent colors for the boat. It’s perfect for summer birthdays—and it can easily be adapted for adults too by scaling it up and using double digits.

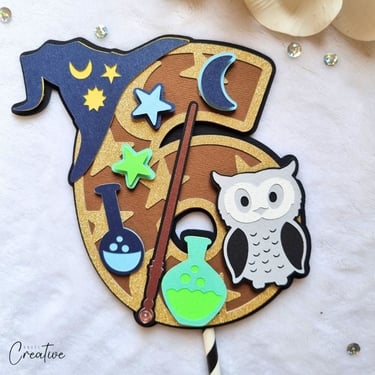
Wizard Number
A magical choice for anyone who loves wizard themes.
Glitter cardstock is a must here. You can also personalize it by adding a name or even a printed character (for personal use). I added a small half bead to the tip of the wand for a subtle magical touch.

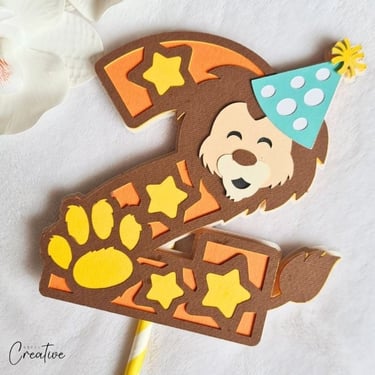
Lion Number
I find this cake topper incredibly cute—perfect for younger children and toddlers. Even though it’s often seen as a “boy” theme, it can easily be adapted for girls just by changing the colors.
It’s also a lovely idea for baby milestone photos. You can reuse the same design each month and simply switch up the colors, which makes the photos feel connected while still keeping them fresh and fun.

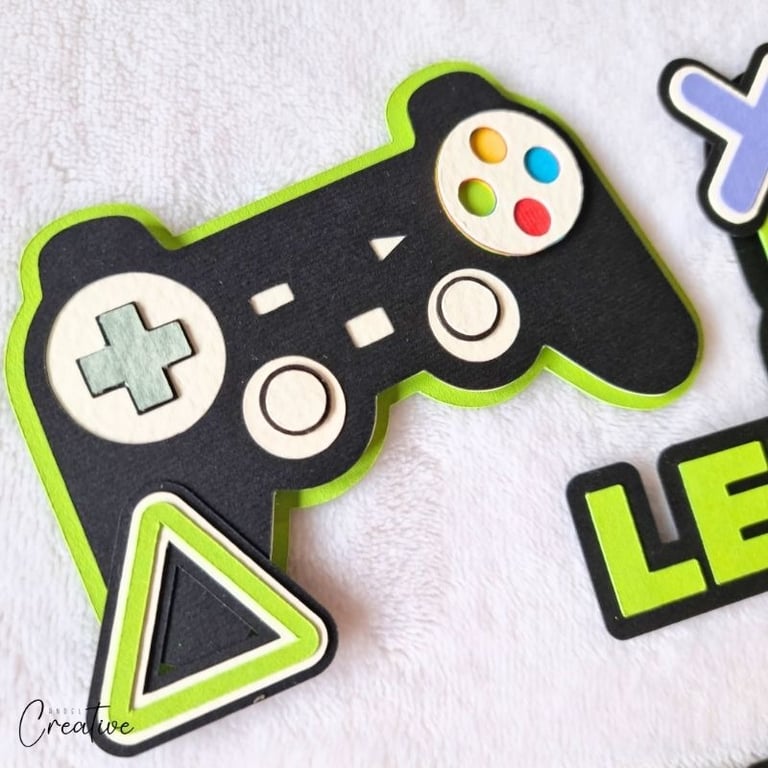
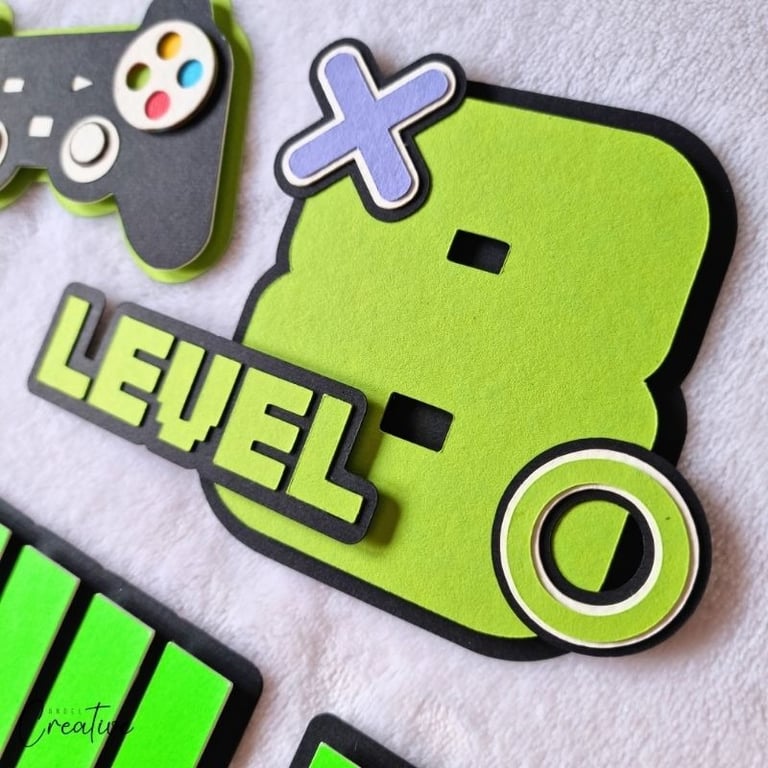
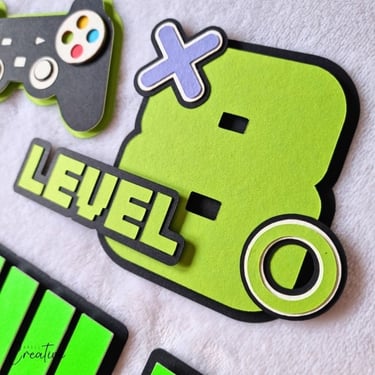
Gamer Cake Topper
This is a great example of how flexible SVG files can be.
Instead of using the design as a single topper, I ungrouped the elements in Design Space and turned them into separate decorations—like a name, level number, and joystick. Each piece was attached to a stick so they could be arranged freely on the cake.

Making cake toppers with a Cricut is one of those projects that looks impressive but is surprisingly beginner-friendly once you try it.
With the right SVG files, a few basic materials, and a bit of creativity, you can create beautiful, personalized decorations for any occasion—whether it’s for kids, teens, or even adults.
What I love most is that you don’t have to follow any design exactly. You can simplify, combine, or completely customize each topper to match your style and the cake you’re decorating.
If you’re just starting out, try one of the simpler designs like the donut or sailor topper, and then slowly experiment with layered or shaker designs as you get more comfortable.
And if you enjoy the process as much as I do, you’ll quickly find yourself creating toppers for every celebration.