3 Cricut Birthday Projects You Can Make with One SVG
When it comes to making quick birthday cards or cake toppers, I almost always turn to my Cricut Maker 3 and SVG cut files. It saves me so much time—time I’d rather spend actually crafting, playing with colors, and enjoying the creative process instead of designing everything from scratch when I’m short on time.
But using an SVG cut file doesn’t mean it’s “done” after one project. Actually… that’s where the fun really begins.
One SVG cut file can be used in many different Cricut projects, and each time it can look completely new with just a few small changes. That’s one of my favorite things about working with SVGs—you get so much creative value from a single file.
Here are a few simple ways I like to change things up when reusing the same cut file:
Sometimes I mix and match elements from several SVG files to create something unique
Changing the color palette alone can make two identical projects look totally different
Adding embellishments like glitter paper, gems, or embossing instantly elevates the design
Resizing elements (making them oversized or mini) to shift the focus of the project
Using the elements for a different purpose, such as turning cake topper pieces into card decorations or gift tags
Below are three Cricut birthday projects I made using the same SVG cut file - Cute Flamingo Cake Topper with Leaves (available on Creative Fabrica), each with a completely different look and purpose. For all of these projects, I used Ambery Garden font.
Affiliate disclosure: This post contains affiliate links. If you choose to purchase through them, I may earn a small commission at no extra cost to you. Your support helps me keep sharing creative ideas and crafting inspiration—thank you so much.
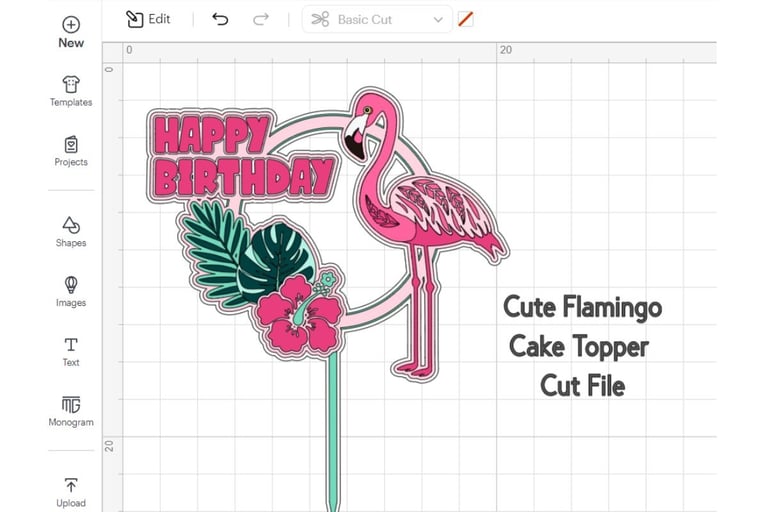

Flamingo cake Topper
This adorable flamingo cake topper was made for my 5-year-old niece, and it uses most of the original SVG file elements.
After uploading the SVG into Cricut Design Space, I ungrouped the elements and removed the Happy Birthday sentiment and the stick that goes into the cake. Instead, I added my niece’s name and used a matching straw as the holder, which felt more playful and colorful.


Materials I used:
6 colors of cardstock: black, two shades of pink, two shades of green, and white
Pink smooth glitter paper for the name and number
White heavy watercolor paper for element backgrounds
Pink marker to color the border
Green marker to add extra color to some leaves
Gold flower leftovers from a previous Sizzix project
Half drops for extra sparkle
A matching straw to hold the topper
A small tip for tiny details:
If you’re wondering how I handled the flamingo’s yellow eye—here’s my go-to trick for tiny details like eyes or dots. I use a hole puncher (3 mm or 5 mm) and glue the punched piece onto the project. You can punch directly from colored cardstock or color it with a matching marker.
Glue I used:
Paper glue for assembling element layers
Double-sided foam tape to add dimension (especially for attaching elements to backgrounds)
Glue dots for half drops
Strong glue to keep the straw securely in place
I experimented with patterned cardstock for the background, but in the end, I chose simple pink cardstock and made the circle border stand out by coloring it with a pink marker.
I really loved how this cake topper turned out—and most importantly, my niece was absolutely thrilled, which is always the best part!
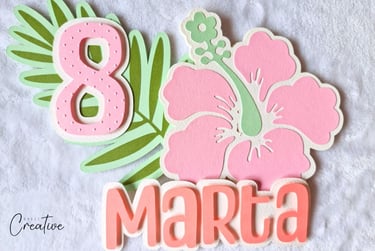
Tropical Floral Cake Topper
For this project, I decided to skip the flamingo entirely and focus on a tropical floral cake topper. Once again, I uploaded the same SVG cut file, ungrouped the elements, and deleted everything I didn’t need. This time, I used only the flowers and leaves, enlarged them, and added a name and number.
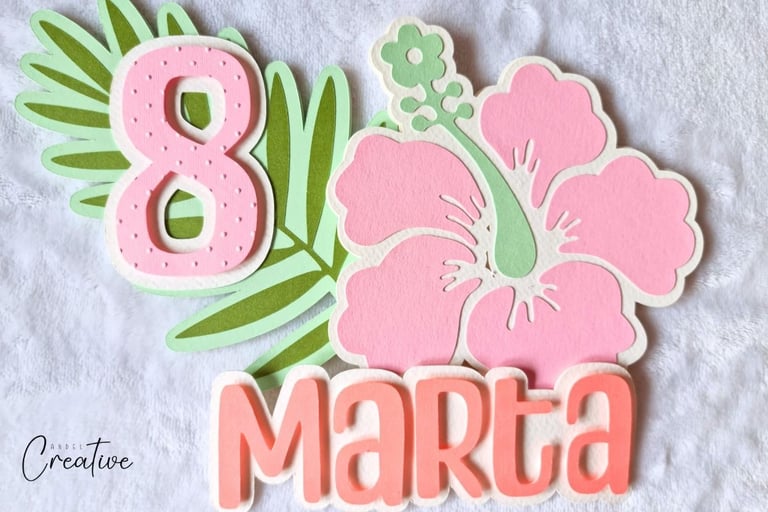
This cake topper came together very quickly because:
It used only four elements (flower, leaf, name, and number)
I worked with just a few cardstock colors, which shortened cutting time
The larger elements made gluing easy and stress-free
To add a little extra interest, I embossed the number using my Sizzix and an embossing folder. If you don’t have embossing tools, you can easily achieve a similar effect by adding dots with gel pens, doodling details, or even faux stitching.
Simple, quick, and still very eye-catching.
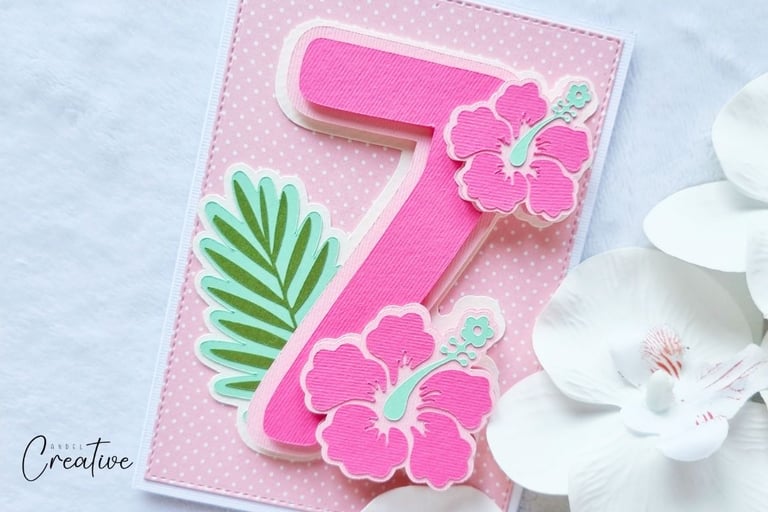

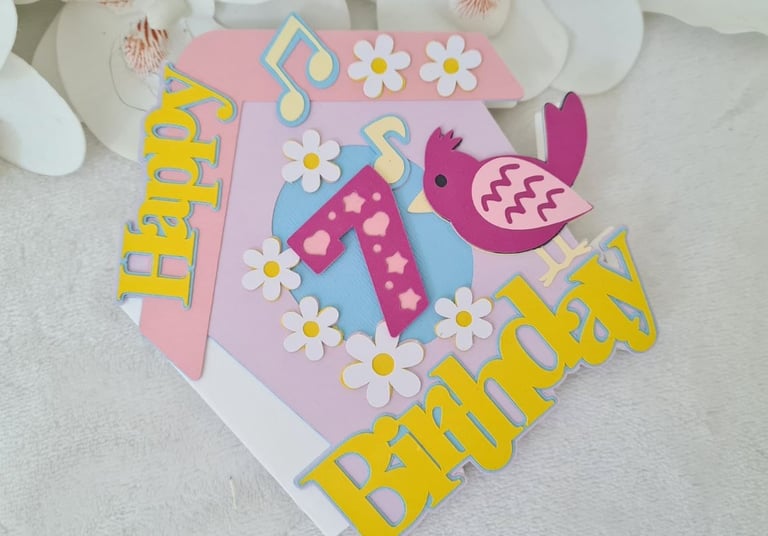
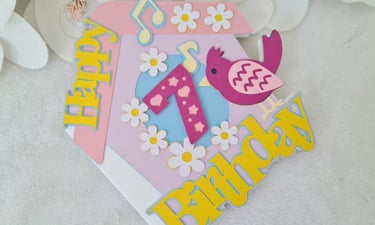
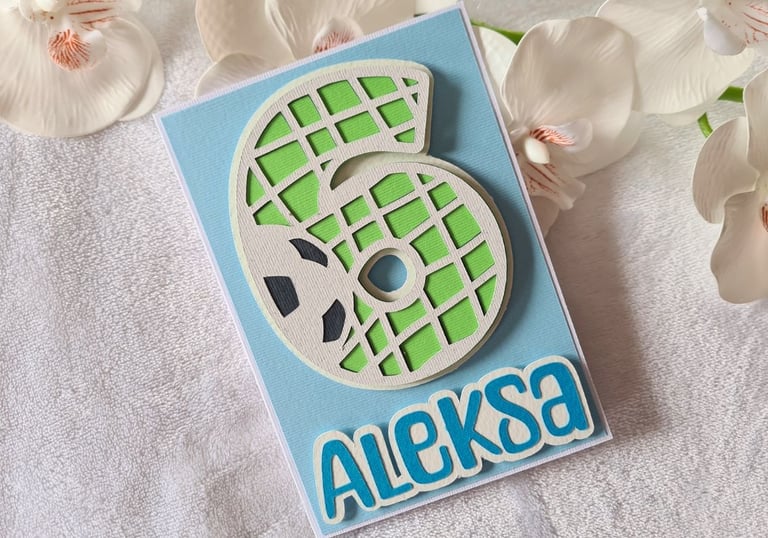
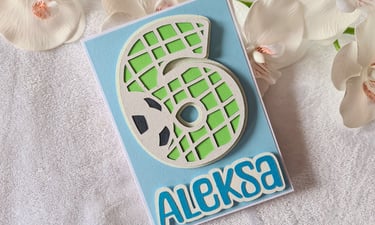
Cricut Birthday Card
For the third project, I used—yes—the same SVG cut file again, but this time to create a Cricut birthday card for a 7-year-old girl. You can watch a short video about making this card here. Just like the previous project, I used only the flowers and leaves, but this time as decorative elements rather than the main focus.
The number became the focal point, while the flowers and leaves added a soft, girly, pink touch around it. To keep the card playful, I added a background with simple dots, which instantly made it feel more fun and age-appropriate.
This project is a great example of how SVG elements don’t have to stay in their “original role”—cake topper pieces can easily become card embellishments with a little imagination.
👉 Love this SVG file? Download this Cute Flamingo Cake Topper with Leaves here and get crafty!
Using one SVG cut file for multiple Cricut birthday projects is such a fun and creative way to get more value from your files—and more joy from your crafting time.
With just a few changes in colors, size, layout, or embellishments, you can turn a single design into something completely new each time. Whether you’re making cake toppers, cards, or party decorations, the possibilities are endless once you start looking at SVG files as building blocks, not finished designs.
So next time you open an SVG in Cricut Design Space, don’t stop at just one project. Play, experiment, and let your creativity lead the way—you might surprise yourself with what you create.
Happy crafting!