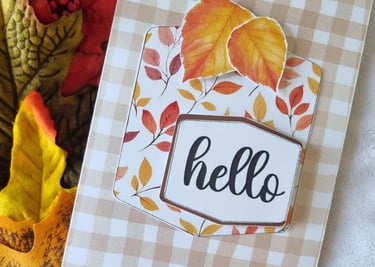
Fall Card Making Tutorial for Beginners: Simple Steps with Printable Kit
Card making is such a joyful and fulfilling hobby. There’s something heartwarming about creating a greeting card by hand, especially when you do it for someone special. The love and thought you put into it—your smile while crafting, your excitement while picking each piece—somehow find their way into the card. And when someone receives it? They feel it all.
But I also know how confusing or even intimidating it can be when you’re just starting out. You see all those beautiful cards online, made with layers of dies, fancy stamps, embossing powders, and machines you don't have. If you're not sure where to begin because you don’t have a room full of tools, here’s the good news: you don’t need any of that to start.
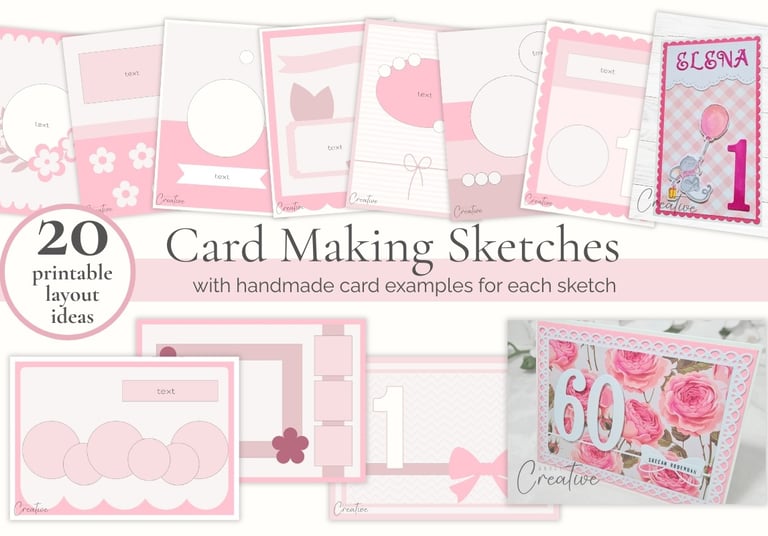
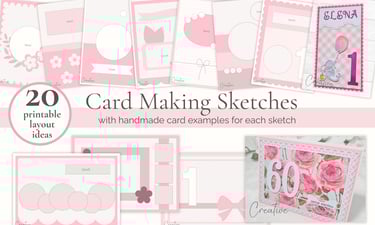
That’s where printable card making kits come in! They’re beginner-friendly, easy to use, and all you really need are scissors, glue, and a bit of time to create something beautiful. I wrote more about what is printable card making kit and what’s inside my Fall Card Making Kit in this post, and today I’ll show you exactly how to make a cozy, adorable fall card using that same kit.
Let’s jump into this step-by-step guide for beginners!
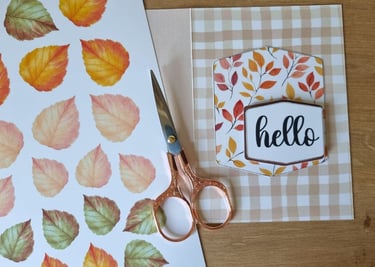
What You’ll Need
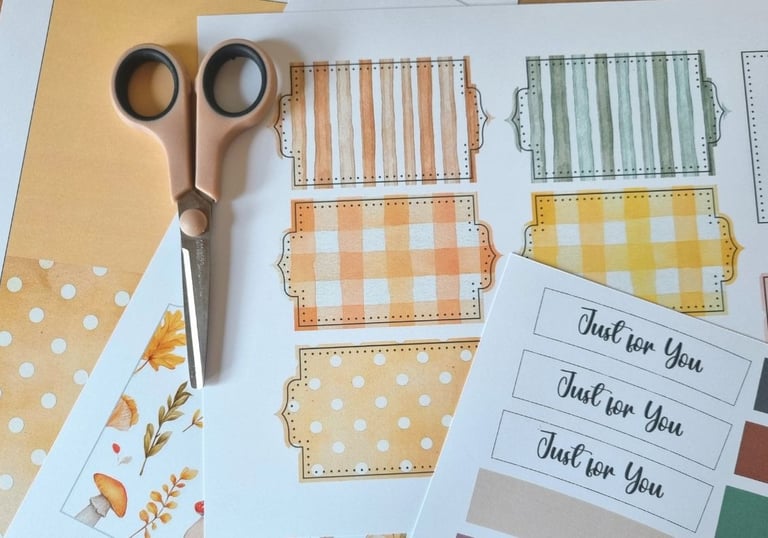
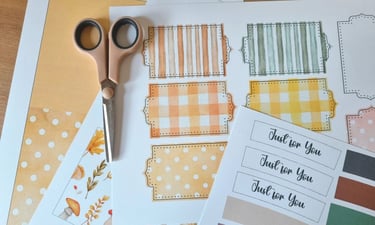
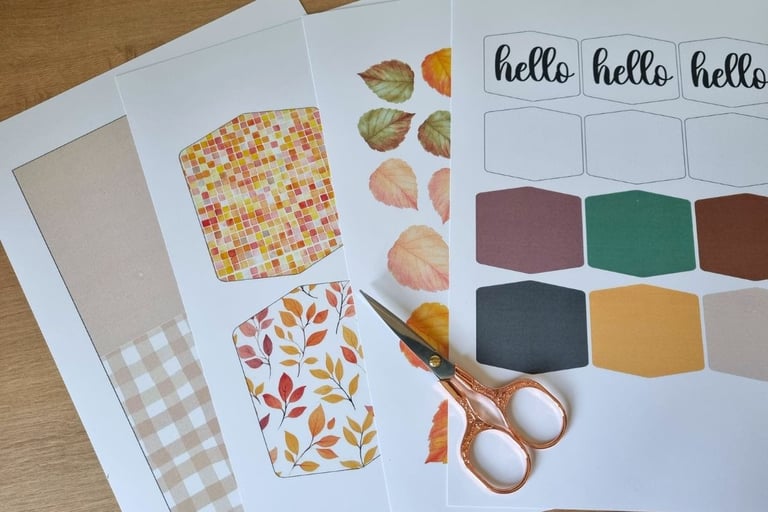
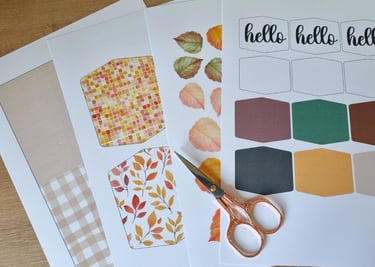
4 printed sheets from my Fall Card Making Kit (I recommend print it on a cardstock)
Printed envelope (optional)
Scissors or a craft knife
Ruler
Paper glue
Double-sided foam tape
Double-sided foam squares (or just cut pieces from the foam tape)
Scoring board (optional)
Step-by-Step Tutorial: Let’s Make a Fall Card!
1. Prepare the Card Base
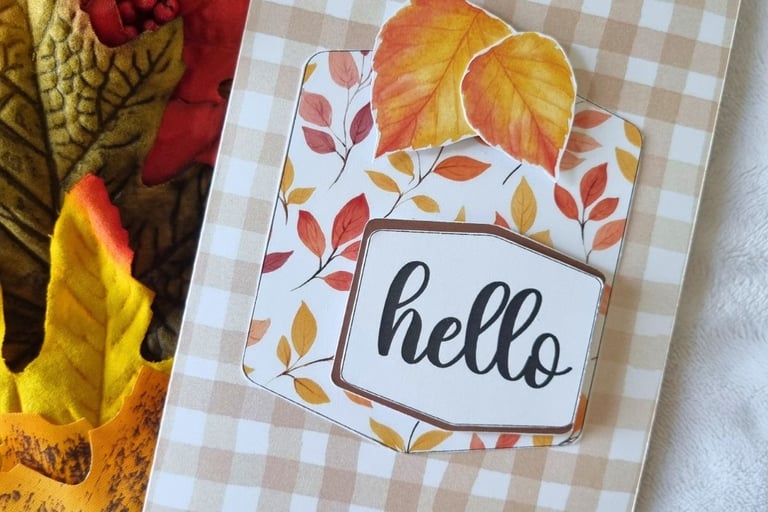
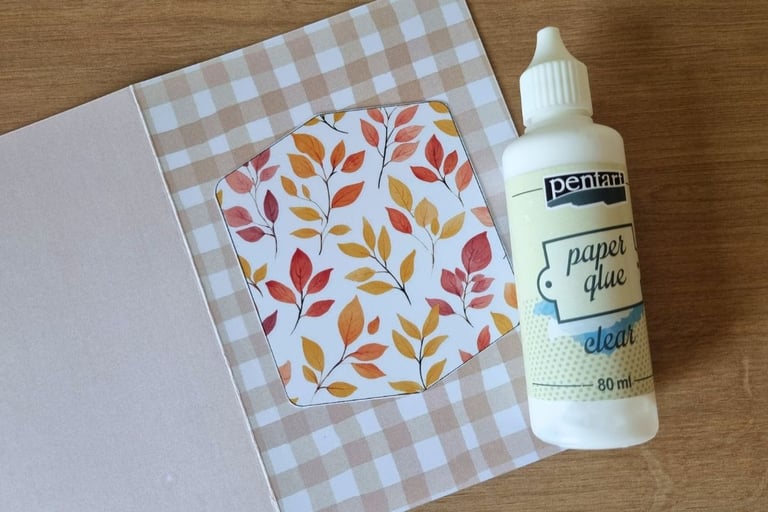
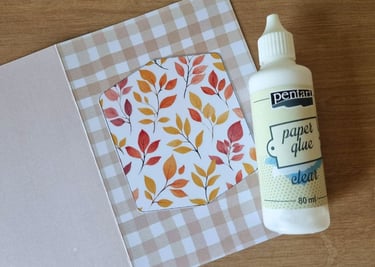
Find the sheet with the brown gingham pattern card base and cut it out along the dotted lines.
To fold it neatly in half:
If you have a scoring board, use it to create a clean fold.
If you don’t, no worries! Place your ruler along the folding line—right where the gingham pattern ends—and gently lift the paper along the edge of the ruler. Press the fold with your fingers to make a crisp edge.
Once folded, unfold it again and work with the card laying flat for now. It’s much easier to glue and place the elements this way because the base won’t wobble or shift around.
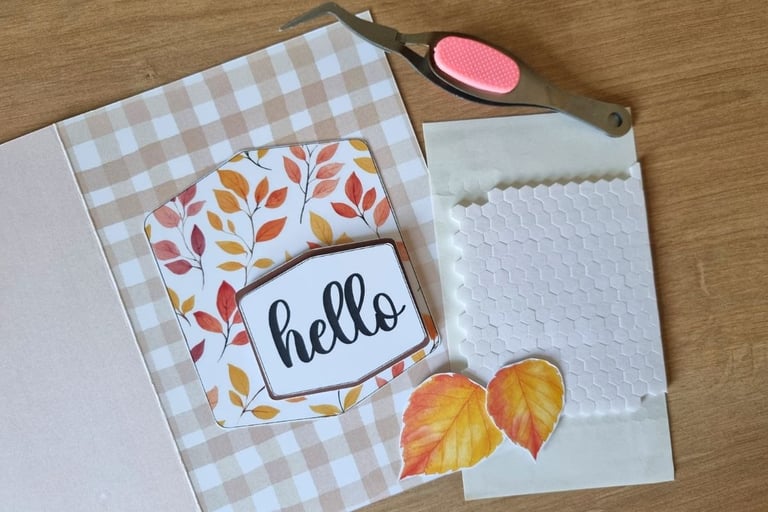
2. Add the Centerpiece
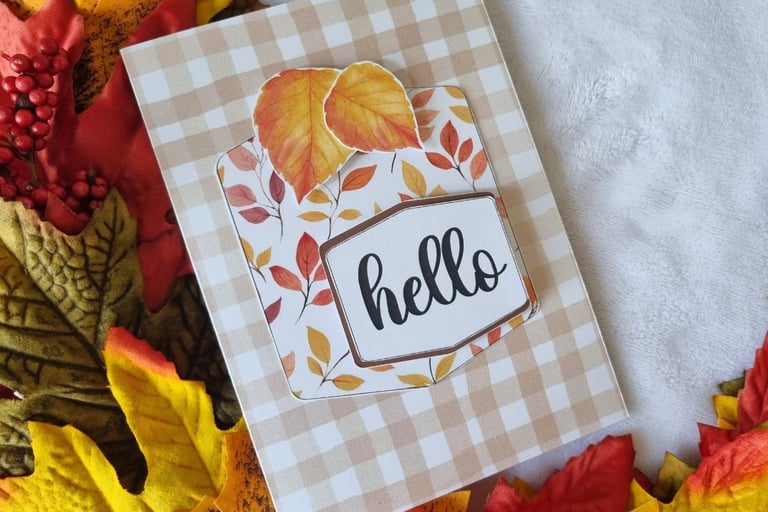
Cut out the hexagonal center piece with leaves from the kit sheet. You can cut around the dark grey border to make the element stand out more, or trim right along the edge for a cleaner look. Totally your call—both options work great!
Glue the centerpiece right in the middle of the card base. I used regular paper glue for the first layer, but you can also use double-sided foam tape if you want a raised look.
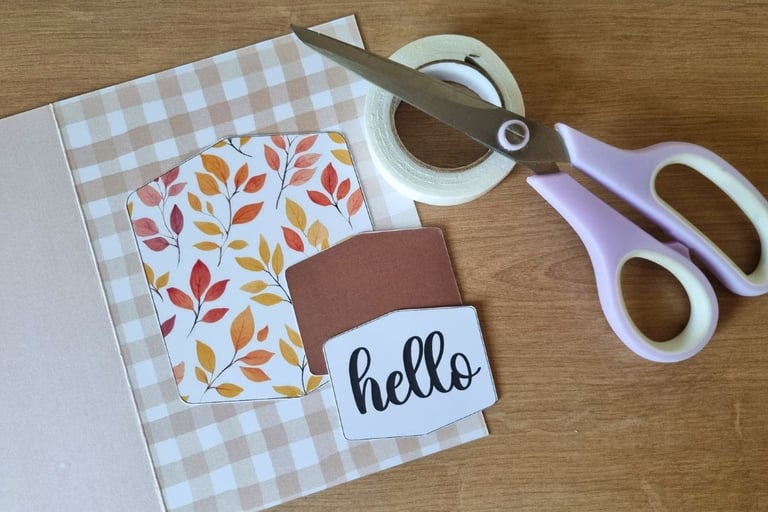
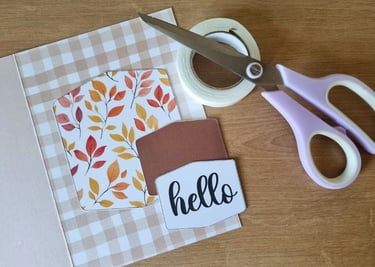
3. Add the Sentiment
Next, cut out the “Hello” sentiment and the brown background shape that goes behind it. Stick the “Hello” on the brown background using double-sided foam tape. Then, attach the whole piece to the card base. I placed mine slightly to the bottom right of the hexagonal center, but feel free to place it wherever it looks best to you.
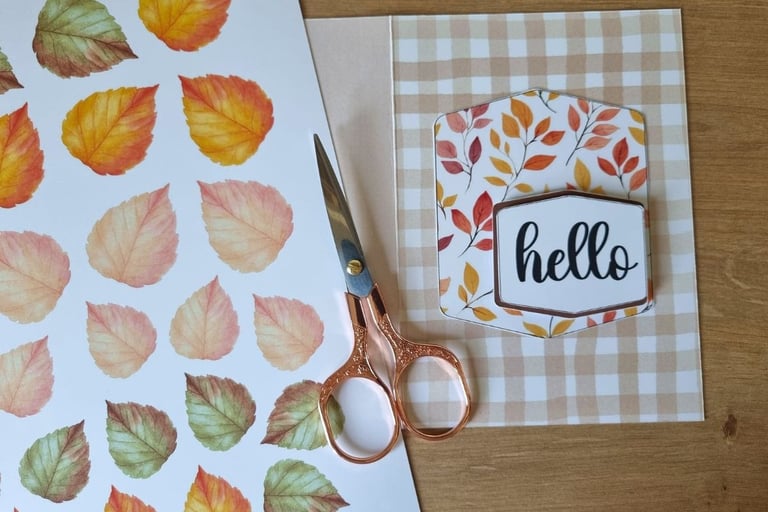
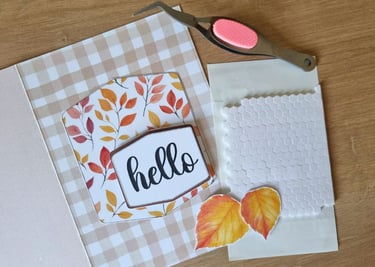
4. Add Leaves for a Fall Touch
From the sheet with leaves, cut out one large leaf and one smaller leaf. Using foam squares, attach the larger leaf to the top part of the hexagon. Then, place the smaller leaf next to it, letting them overlap slightly. The foam adds dimension and really brings the leaves to life!
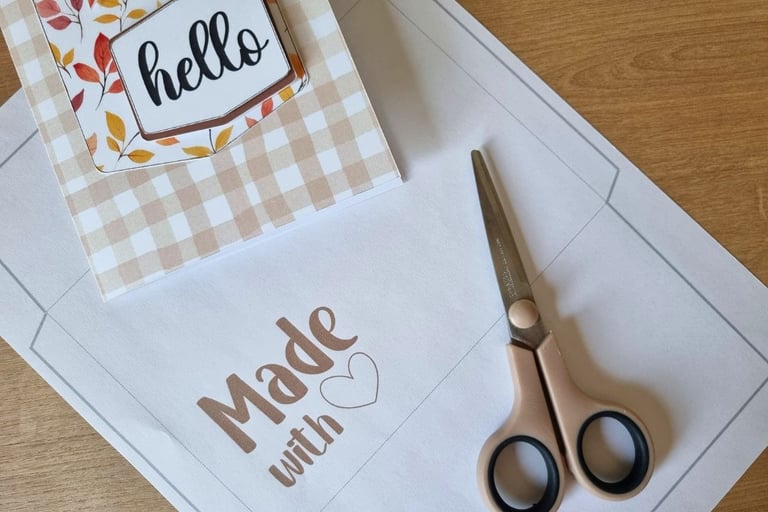

5. Print and Assemble the Envelope (Optional)
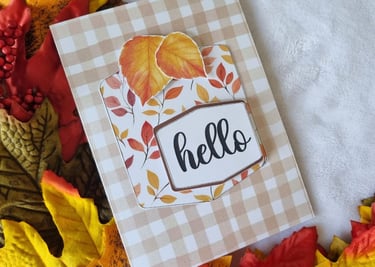
If you want to complete the project with a matching envelope, print the envelope design on regular copy paper. Cut it along the bold lines, fold along the thin lines, and glue the sides. Slip your finished card inside—and it’s ready to gift or sell!
One of the lovely things about this kit is that you’re free to sell the handmade cards you create with it. In fact, this exact card was sold the day after I made it—so if you’re considering a small handmade card side hustle, this could be a great start. :)

Bonus Tip: Personalize It
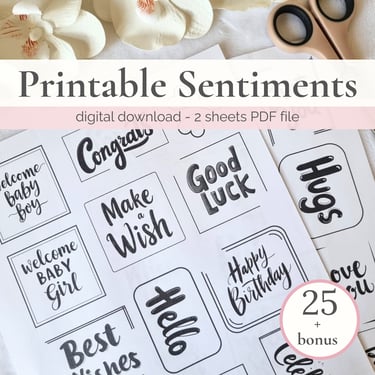
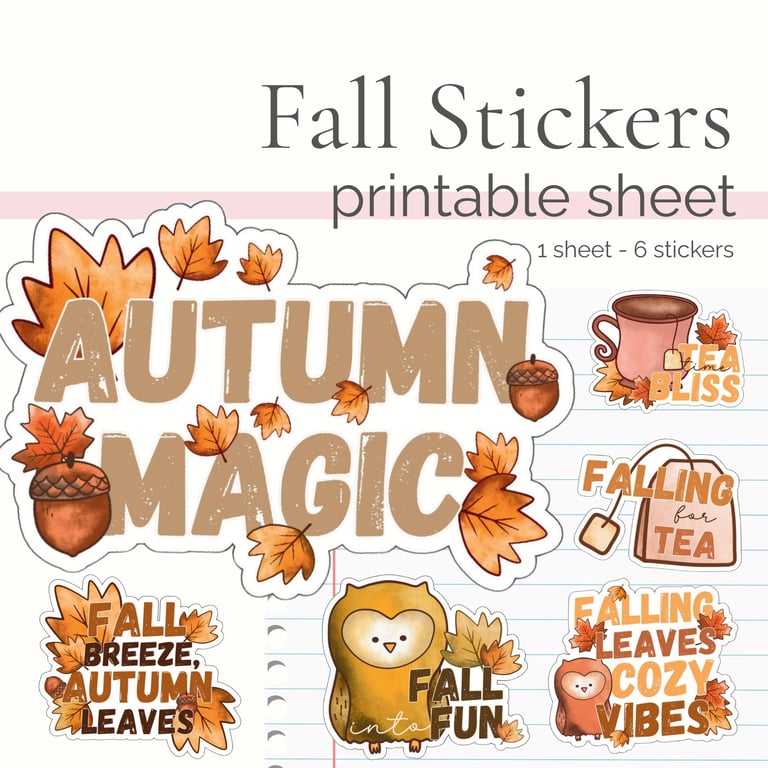
If you’re looking for a different message, like “Happy Birthday” or “Miss You”—check out my printable sentiments for cards or even these fall sentiments. You just need to print them out on a card stock and make the card fit any occasion!

I hope this simple tutorial inspires you to give fall card making a try. There’s something special about crafting with your own hands, and I think you’ll feel it too once you start.
Thank you for crafting with me!