How to Start Card Making: Basic Tools for Beginners
If you’re a card making beginner, you’ve probably asked yourself: What do I need to make cards? or How to start making your own cards? The good news is—you don’t need a huge stash of expensive supplies to begin. Making beautiful greeting cards can be affordable, simple, and still look amazing.
When you’re just starting, you don’t need a die cutting machine (like a Sizzix), embossing folders, fancy stamps, or a big collection of inks. Those tools are wonderful for later, but you can create professional-looking cards with only a few basic card making tools. In this guide, I’ll share the essentials I use every day, so you’ll know exactly what you need for card making—without spending too much.
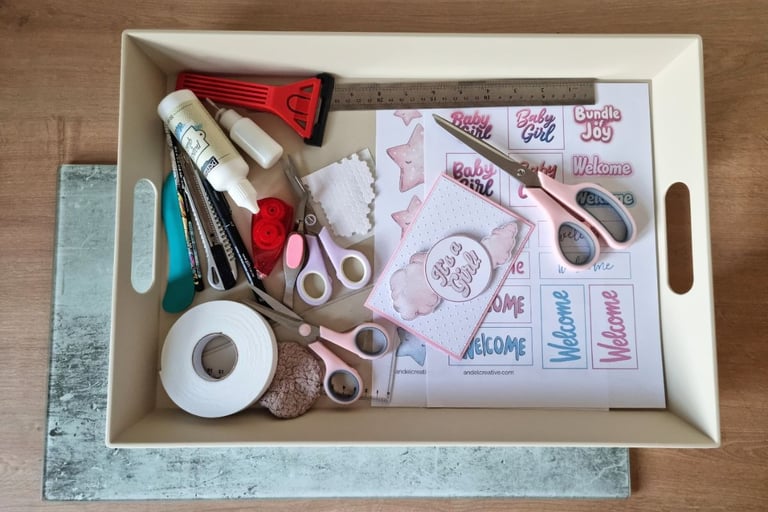
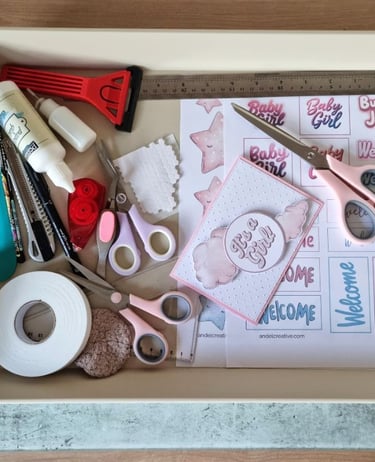
Craft Knife - A craft knife can do what big scissors do, but with a lot more precision. I often use just the tip for intricate shapes or when cutting card bases from large sheets of cardstock. The only catch: you’ll need a proper cutting surface. I use a glass mat (about 12 x 16 inches / 30 x 40 cm), but a self-healing cutting mat works too.
Scissors for Foam Tape - One thing I’ve learned is to always keep a separate pair of scissors just for foam tape. After a few cuts, the glue sticks to the blades and they won’t cut paper neatly anymore. Having one pair for paper and another pair for tape keeps everything clean and makes card making a lot less frustrating.
Glue Residue Scraper
This might sound unusual, but a little glass scraper (the kind people use to remove stickers from windows) is incredibly helpful. I use it to clean glue off scissors and knives so they keep working smoothly. Sticky blades don’t cut well, and this saves me from having to replace them all the time.

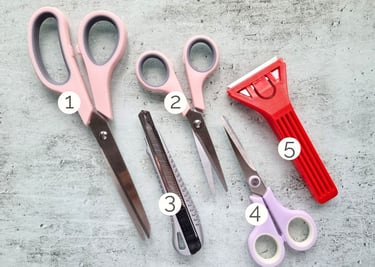
Cutting Tools for Card Making
Big Scissors - You’ll definitely need a good pair of big scissors. I use mine for card bases and backgrounds—basically anytime I need to cut larger pieces of cardstock or patterned paper. They don’t need to be fancy, just sharp enough to give you a clean cut without frayed edges.
Small Scissors - Now, this is where the magic happens for the little details. Small scissors are my go-to for fussy cutting—like trimming around flowers, hearts, or any tiny image I want to pop out on my card. A sharp tip makes all the difference when you’re working with curves and corners.
Double-Sided Foam Tape
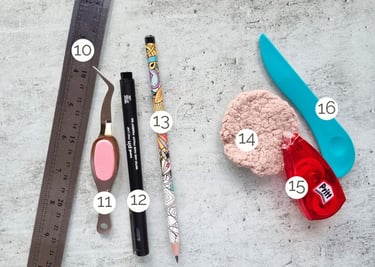
This is where you can really make your cards “pop”—literally. A little piece of foam tape lifts your design off the base and adds dimension. It’s the cheapest way to give your cards that professional 3D effect.Foam Tape Squares
Think of these as foam tape made easy. Pre-cut squares (or hexagons) are perfect for small elements like flowers or tiny cutouts. Sure, you can cut your own from a roll, but trust me—it’s messy, and your scissors will get sticky fast. I definitely prefer the ready-made ones.
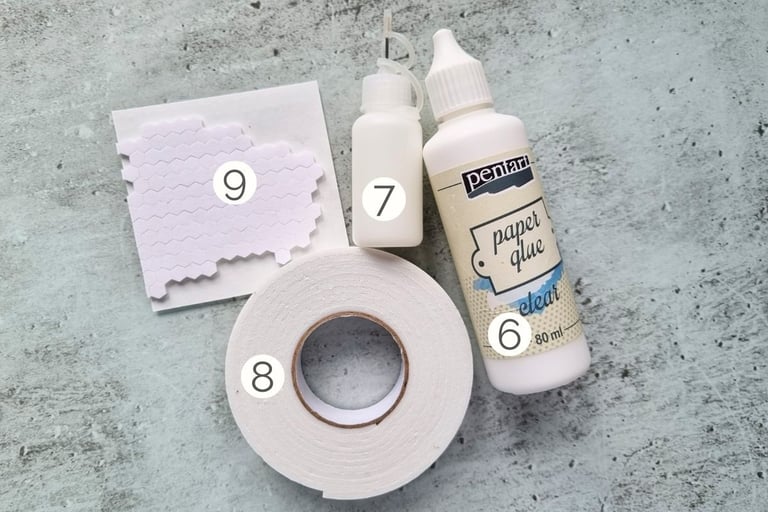

Adhesives and Glue for Card Making
Paper Glue
Not all glues are created equal. Some dry too fast, some warp your paper, and some are just messy. I went through a few before finding one that works for me. Personally, I like fast-drying glue—I don’t have the patience to wait around. But you might prefer something slower so you can adjust your elements. The main rule? Pick one that doesn’t wrinkle your paper.Fine Tip Glue Bottle
This isn’t about the glue itself but how you use it. I pour my glue into a smaller bottle with a fine tip nozzle. That way, when I’m gluing tiny details or thin lines, I can keep everything neat. It makes such a difference for the finished look.
Other Basics
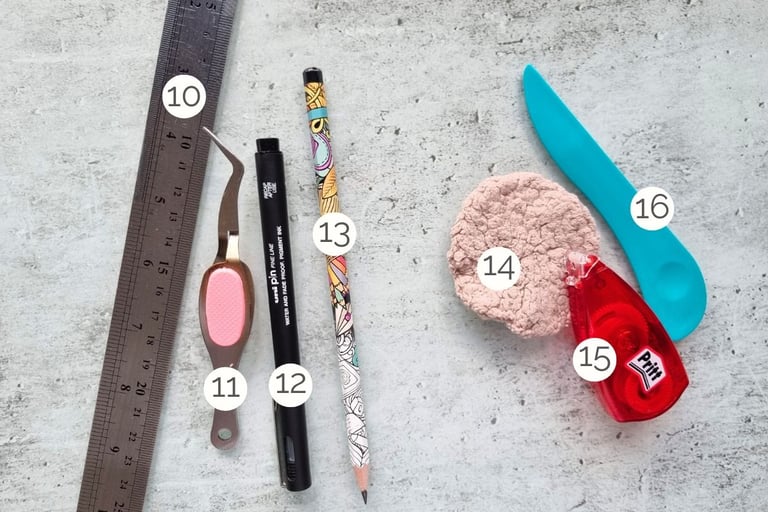
13. Ruler and Pencil
I know, boring tools, right? But they’re the unsung heroes. You’ll need them to measure card bases and make sure everything lines up neatly. A little bit of “card making math” goes a long way.Fine Tip Tweezers
If you’ve ever tried picking up a teeny-tiny paper heart with glue on it using your fingers… you know the struggle. Tweezers save the day. They make placing small details so much easier (and cleaner).Black Gel Pen
This one’s simple but fun. I use mine for writing my own card sentiments when I don’t feel like printing or stamping, and sometimes I add doodles or little borders. It’s such an easy way to add a personal touch.
Optional But Helpful
Reusable Cotton Pads
This is a little trick of mine. Instead of pressing glued paper layers down with my fingers (which usually leaves smudges), I use soft reusable cotton pads—the kind originally made for removing makeup. They smooth everything out evenly and keep the paper clean. Plus, I can wash and reuse them forever.Double-Sided Roller Tape
This is my “I’m in a rush” glue. If I want to finish a card in five minutes or just don’t want to wait for liquid glue to dry, I grab my roller tape. It’s also handy for fussy-cut shapes with thin edges, since it covers them neatly with adhesive.Bone Folder
You might think you can fold cardstock with your fingers—but once you try a bone folder, you’ll see the difference. It gives your card bases a perfectly crisp fold, just like a store-bought card.Paper Cutter (Trimmer)
Not a must-have, but definitely nice to have. If you don’t feel like measuring and cutting with scissors every time, a paper trimmer makes perfect straight lines and right angles in seconds.
Ready to Make a Card?
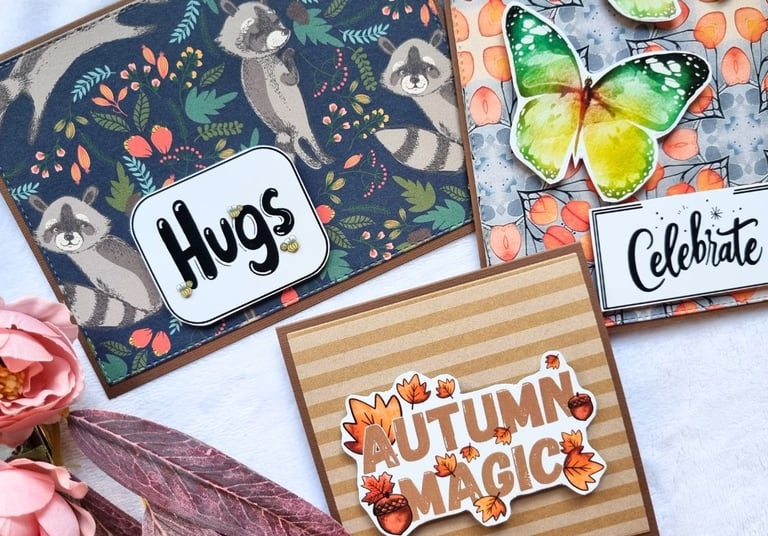
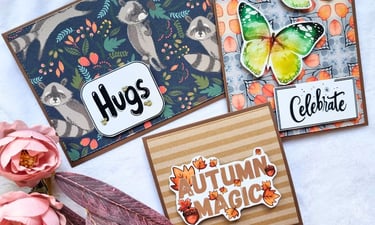
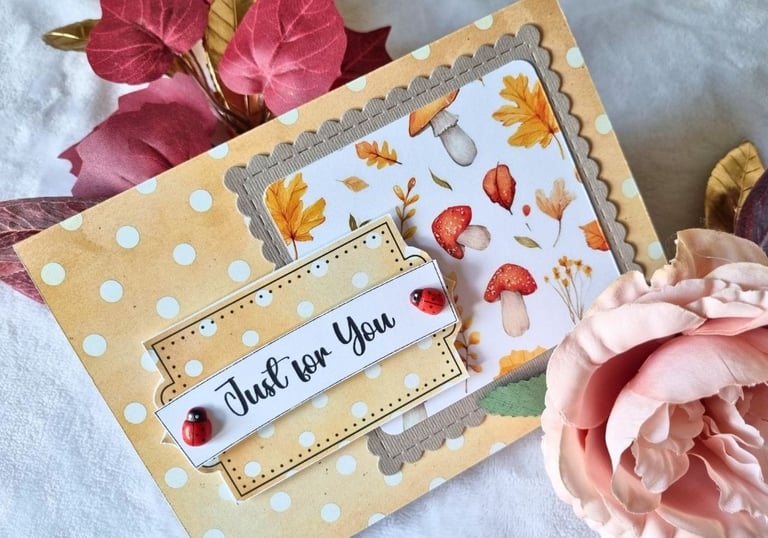
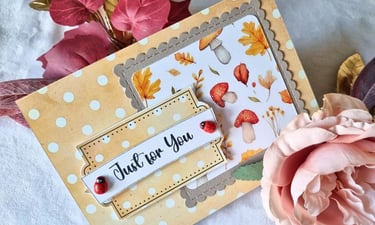
Visit the Card Making section of my shop to find printable designs made for beginners.
These are the basic card making tools I use daily. I keep them in a tray so I can craft anywhere, not just in my workshop. As you gain experience, you’ll discover your own must-have tools—because every card maker develops a personal style.
For now, this simple list is enough to get you started and help you enjoy the process. Card making is about creativity, not the price of your tools. So grab some paper, your basic supplies, and start experimenting—you’ll be surprised how beautiful your first cards will look!