Use and Create with a Printable Card Making Kit in 7 Crafty Ways
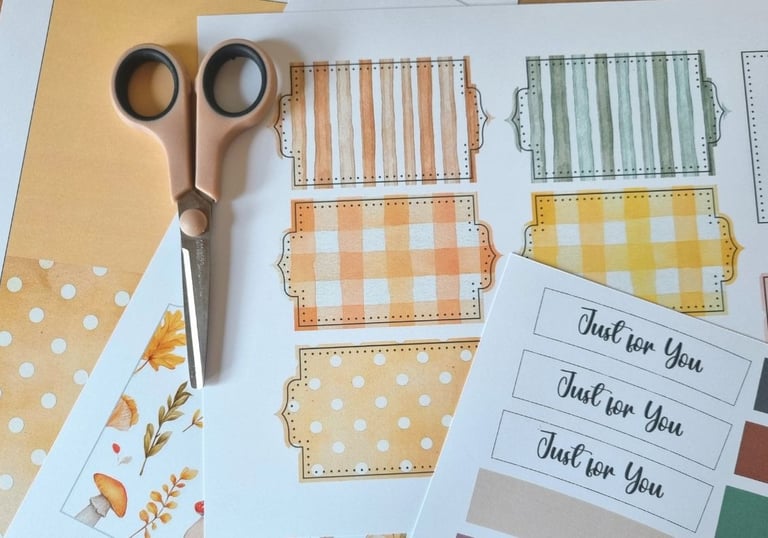
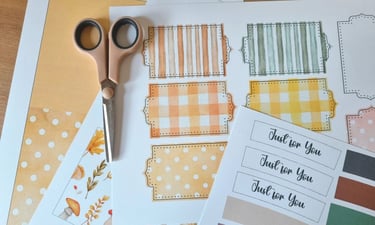
Printable card making kits are a wonderful shortcut for creating beautiful handmade cards. The idea behind these kits is simple: they help you make handmade greeting cards without needing all the fancy (and sometimes expensive) tools. You just print, cut, and glue, and you’ve got yourself a lovely handmade card.
But these kits are more than just ready-to-go cards. With a little creativity, you can reshape, layer, or combine the printable pieces with other supplies to make each project truly your own.
Here are 7 crafty tips to help you use and create with a printable card making kit, giving your projects a new look every time. I’ll be using my fall-themed kit from my earlier posts, so feel free to check them out:
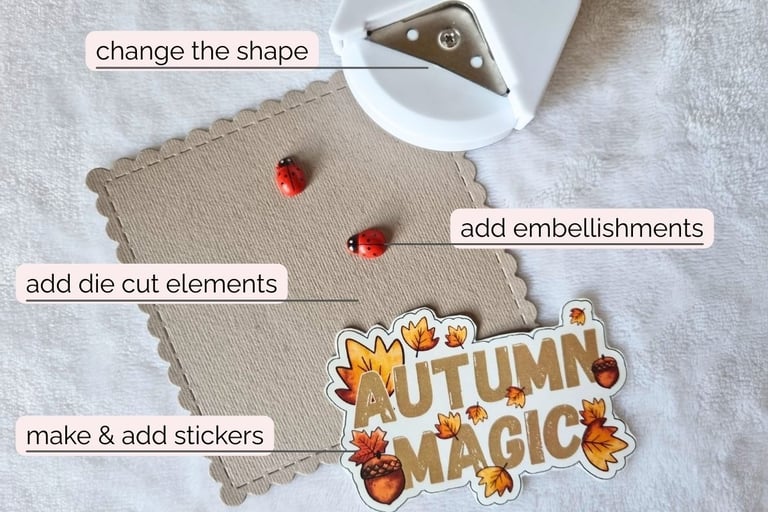
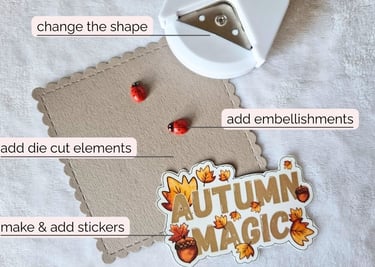
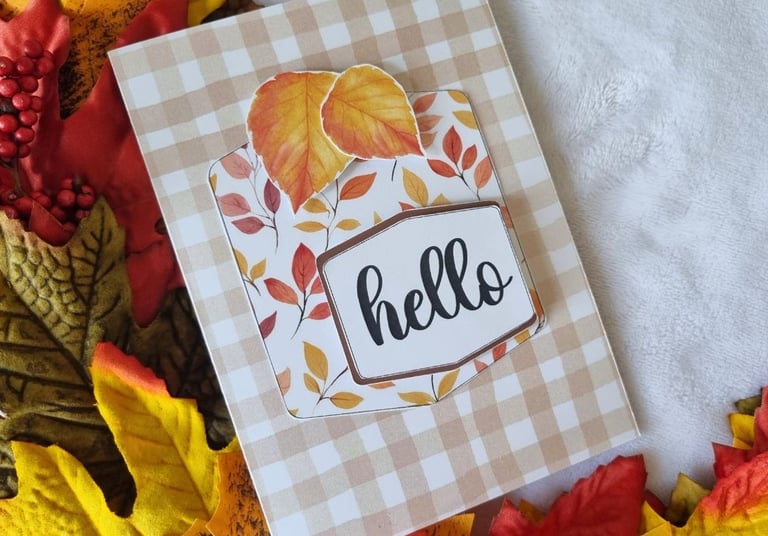
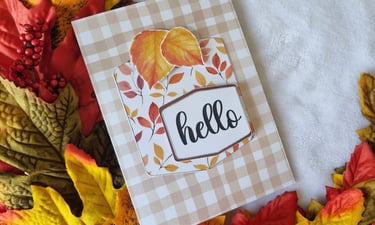
1. Add Embellishments to Pop Up a Card Design
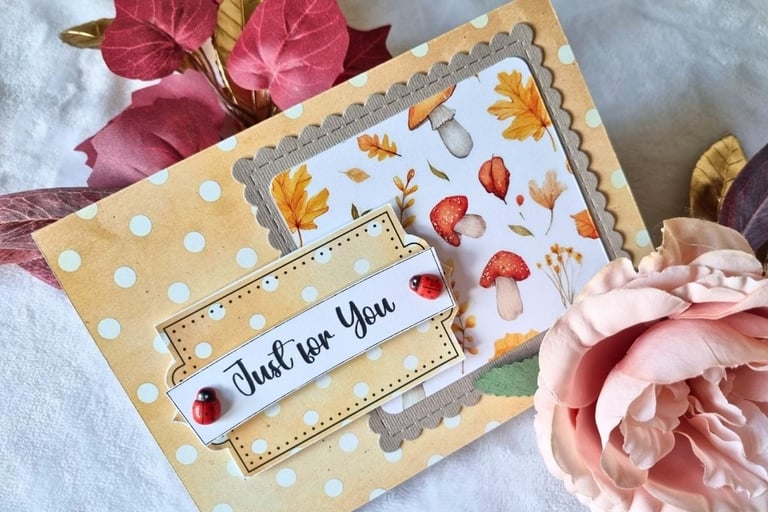
If you’ve been crafting for a while, chances are you have a little stash of embellishments — buttons, wooden shapes, ribbons, sequins, or fabric scraps. Adding these to your printable card instantly gives it more depth and texture.
For example, I added tiny wooden ladybugs to one of my fall cards, and they made the whole design feel warm, cozy, and playful. Little touches like that can take a flat printed card and turn it into something truly unique.
2. Think Beyond the Printable Shape
Every printable kit comes with pre-designed shapes like squares, circles, banners, and decorative pieces. But who says you have to stick to those shapes? Grab your scissors or craft knife and reshape them to suit your idea.
Also, I used a rectangular lace-edged die cut between a dotted green background and a patterned pumpkin panel. This layering helped both patterns stand out while adding a professional finish (I did this trick on the card under tip no. 1 too with the brown card stock). Further on, I die cut small clouds and used them as “To:” and “From:” tags on the card. Handwriting names on them made the card feel personal and extra handmade.
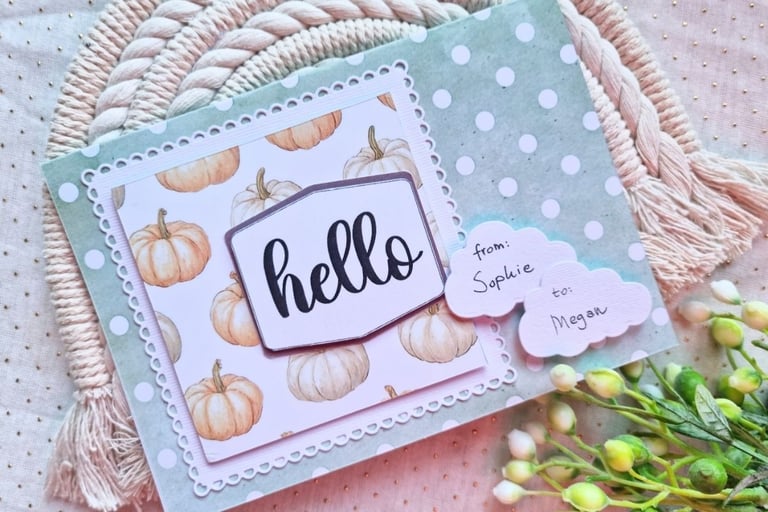
On this card, I took a rectangular pumpkin design and trimmed off the curved corners to make it into a perfect square. You can also turn pieces into triangles, hexagons, or even freehand shapes for a quirky look. A corner puncher is also a great tool to round or soften edges (like I did on the card under tip no. 1).
3. Add Die Cuts
If you have a cutting machine and some dies, this is where you can blend printed elements with die-cut details. Beginners often have basic shape dies, which are perfect for layering backgrounds and creating clean edges. If you do not have a cutting machine, use scissors or craft knife to make some basic shapes.
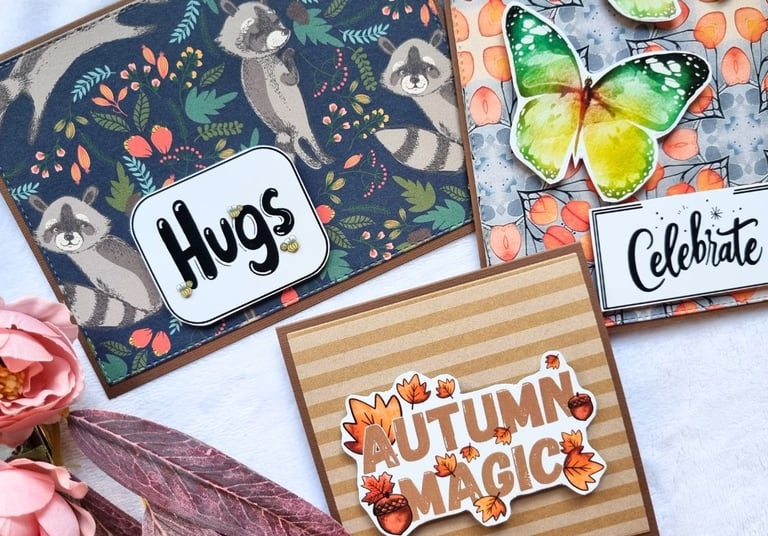
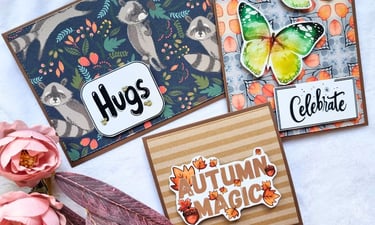
4. Mix & Match
The beauty of a printable kit is that you get ready-to-use card bases with patterns already in place. But you don’t have to use them as is. Flip things around — cut patterned backgrounds into smaller pieces, swap them between bases, or layer them with foam tape for extra dimension.
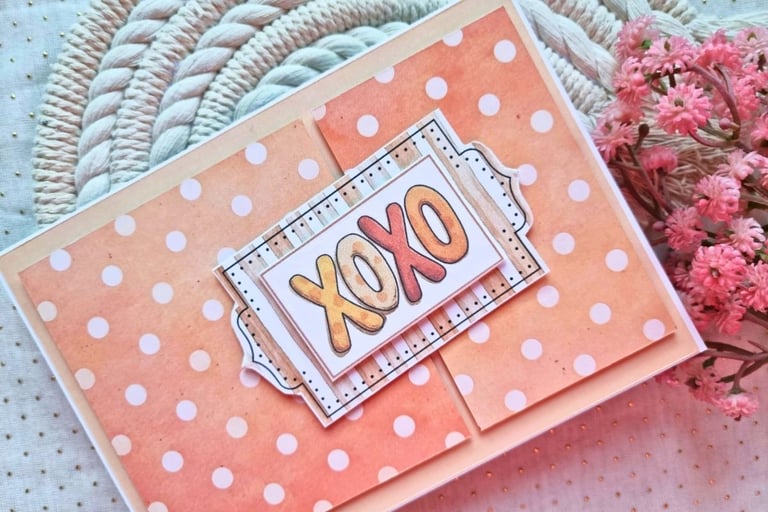
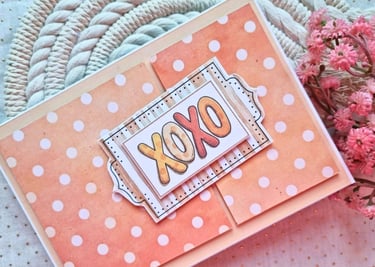
I started with a blank card base and a patterned pumpkin card base from the kit. I carefully separated the colored and patterned sections using a craft knife.
Next, I glued the solid orange piece onto the white card base to create a simple background. Then, I cut the remaining patterned section into a square and a rectangle. Using double-sided foam tape, I layered these pieces on top of the orange background to add dimension.
To add another visual element, I took a small striped printable piece, slightly curled it, and placed it on top of the layered sections. Finally, I added an “XOXO” sentiment from my printable fall sentiments collection. The combination of layered shapes, tilted angles, and the curled striped piece gave the card a playful, dynamic look that feels both cozy and fun.
5. Make Gift Tags, Bookmarks & More
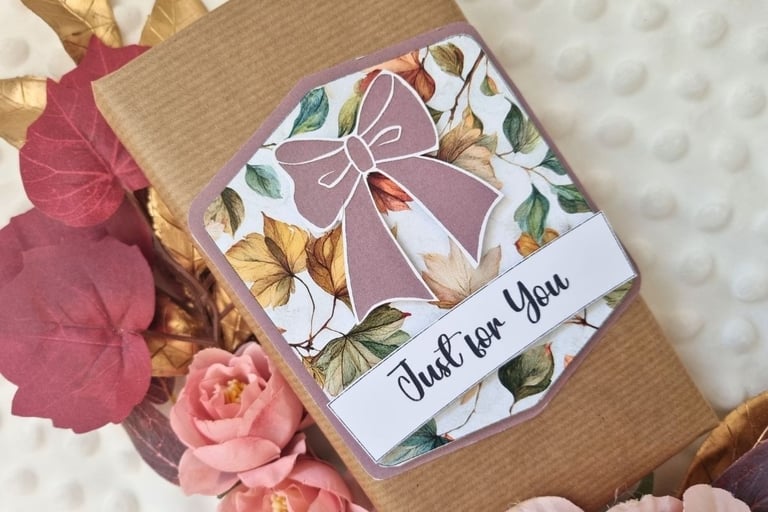
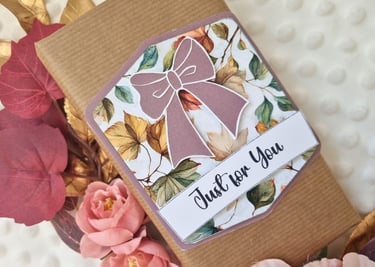
Don’t limit yourself to cards! Printable kits are a wonderful resource for small paper crafting projects. Cut out a sentiment or patterned piece and turn it into a gift tag for a present or a bookmark for a bookworm friend.
You can also make mini cards, or even tuck a small decorated piece into a pen-pal letter. With just a hole punch and some twine, a leftover piece becomes a tag in minutes.
Ready to try these ideas?
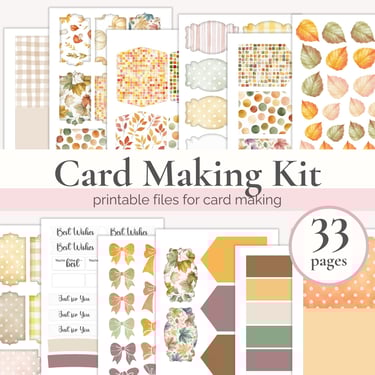
Here's the list of printables I used to make these cards so feel free to check them out!
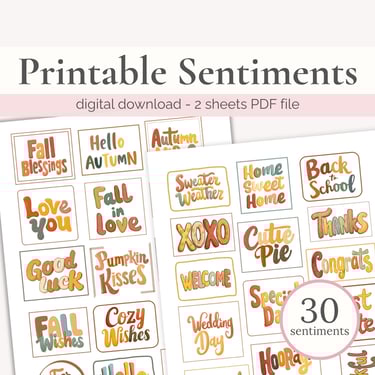
For more card making printables, visit my card making section in my store. Card making kits, sentiments, elements, sketches - it's all there.
6. Scrapbook & Junk Journal Decoration
Scrapbookers and journal lovers, this one’s for you. The elements in a card kit — sentiments, patterned pieces, and little embellishments — are perfect for adding layers and details to pages.
Use the smaller pieces as photo frames, journaling spots, or accents around your layout. Patterned strips can become borders, while cut-out sentiments add quotes or titles. If you’re into junk journaling, you can collage these pieces onto envelopes, tuck spots, or pockets. It’s a quick way to bring seasonal or themed flair to your projects.
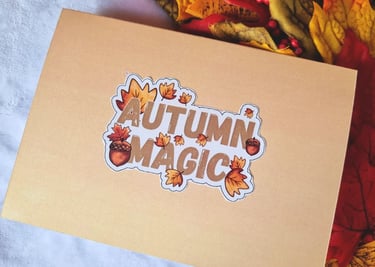
7. Print Stickers for Extra Fun
One of the great things about printables is that you can change the paper you print on. If you use sticker paper instead of cardstock, suddenly your kit transforms into a sticker sheet!
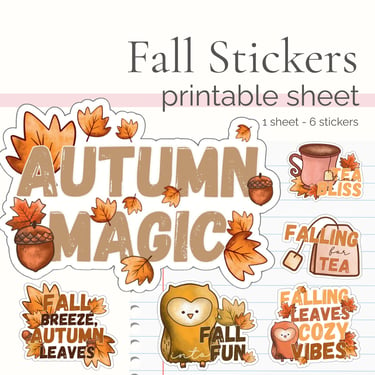
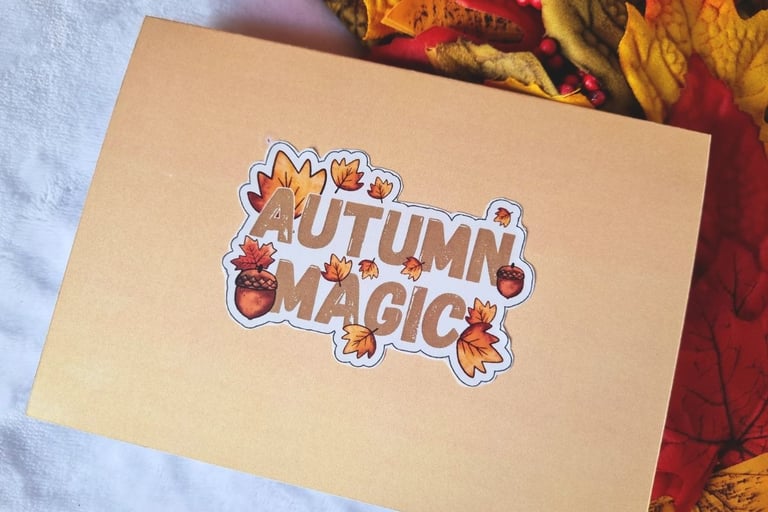
Print sentiments, banners, or small elements as stickers and use them to seal envelopes, decorate the back of your card, or add accents inside your scrapbook or journal. In one of my projects, I printed my fall-themed stickers and added one to the back of the card — a sweet finishing touch that tied the whole design together.
With a little imagination, a single printable card making kit can go far beyond ordinary cards. Layer, mix, and combine elements with your own supplies, and you’ll discover endless ways to craft fun, personal, and creative projects that truly reflect your style.
The best part? Once you start experimenting, you’ll find even more ways to use them. Collecting a few printable kits means you’ll always have a mix-and-match stash at hand, perfect for cards, scrapbooks, journals, and other papercraft projects.
Grab your scissors, some glue, maybe a sequin or two, and let your creativity run wild. You’ll be amazed at how far one kit can take you!