Ways to Add Sentiments to Your Cards
Sentiments are the heart of a handmade card — they tell us the occasion and capture the emotions that come with it. That’s why they’re so important and why card designs almost always include them.
But what if you’ve layered all your pretty papers, added the embellishments, and now you’re ready for the sentiment… only to realize you don’t have Sizzix die cuts for letters, stamps and inks, or even the right phrase for the occasion? You don’t want to leave your card “speechless,” right? I’ve been there.
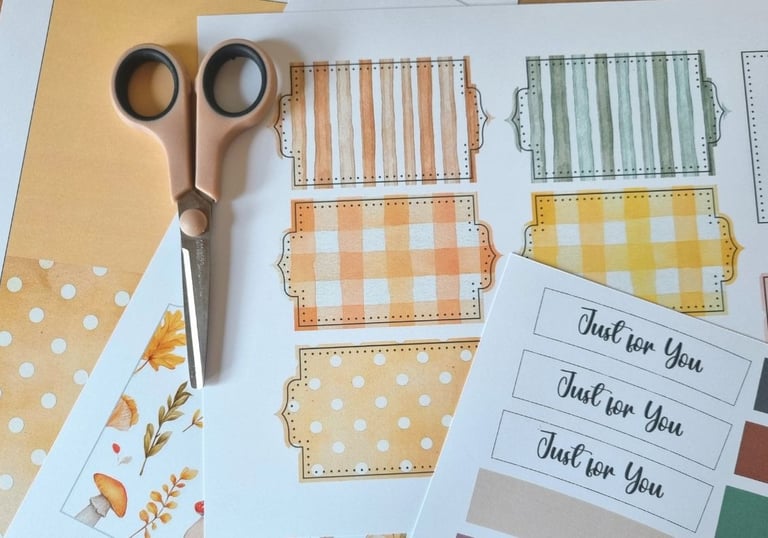
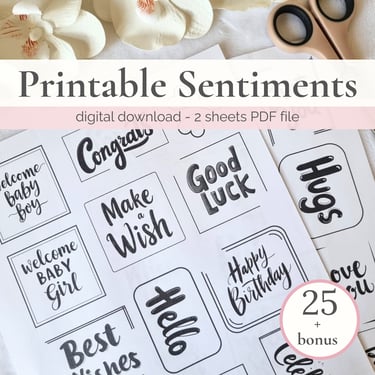
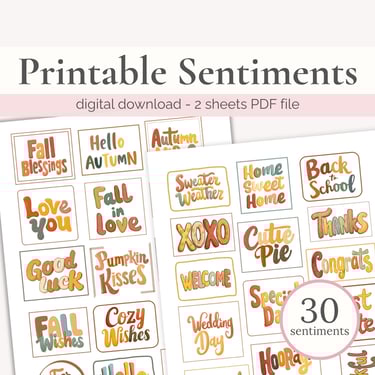
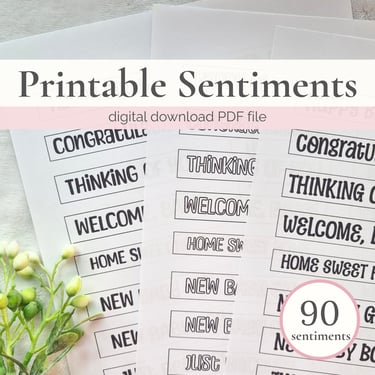
That’s exactly why I created cute, printable card making sentiments — fun and adorable designs for various occasions that you can print as many times as you want and simply glue to your card.

Printing Tips Before You Start
Before you dive into cutting and gluing, let’s talk about getting the best print results for your sentiments.
Go for thicker paper – Printing on card stock (at least 175 gsm or 65 lb) will make your sentiments feel sturdy and professional. They’ll hold their shape better and look more polished on your cards.
No heavy-duty printer? No problem! – If your printer doesn’t handle thick card stock, just print on regular copy paper and glue the sentiment onto a piece of thicker cardboard or card stock. This little “upgrade” will make it just as sturdy.
Try sticker sheets – Printing directly on sticker paper is super handy! You can peel and stick sentiments right onto your card, envelope, or even the back for a cute finishing touch.
Creative Ways to Use Printable Sentiments
Here are 10 ideas you can try — and I’m sure you’ll come up with even more after reading!
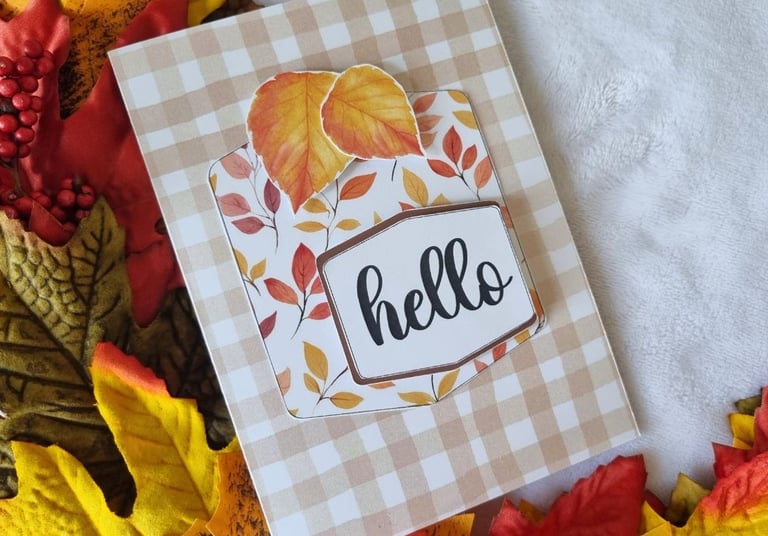
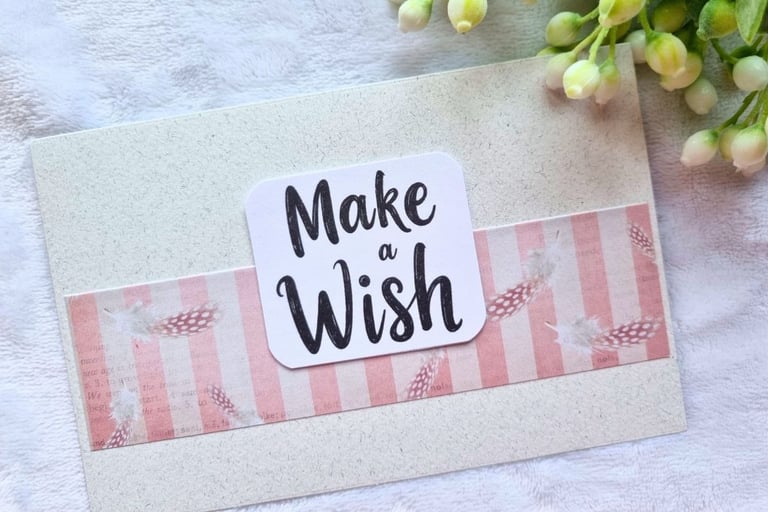
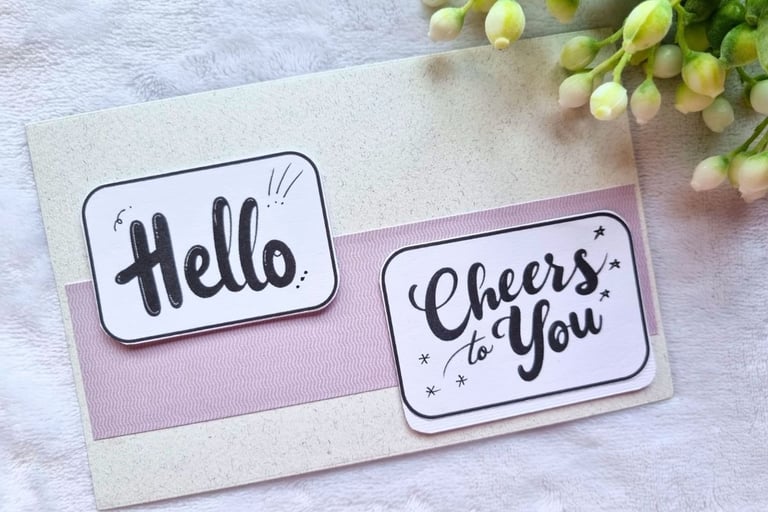
Cut with or without the black border – Keep the border for a framed look or cut closer for a “sticker” style with a white outline. Choose based on your background so the sentiment stands out.
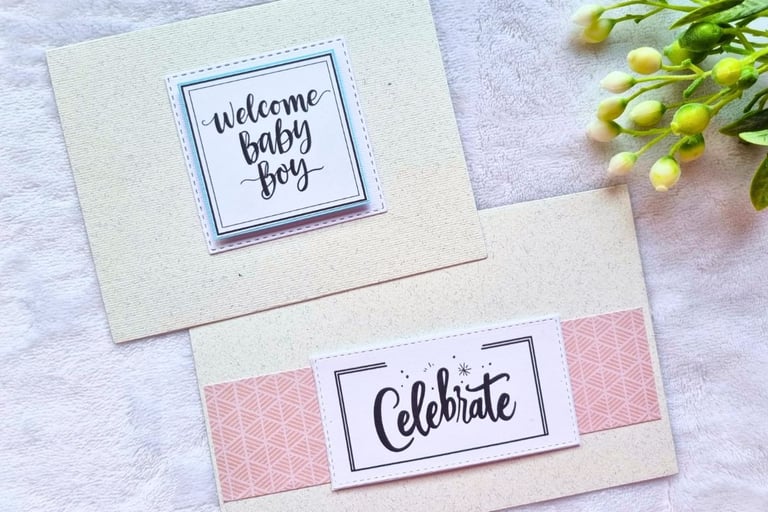
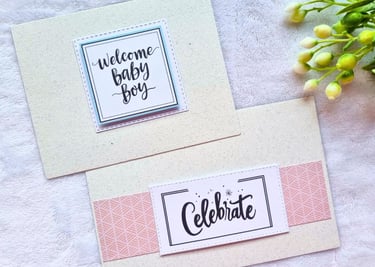
Use colored card stock as a base – No Sizzix needed! Just cut a colored shape slightly larger than the sentiment so the white background pops.


Round the corners – Cut close to the border or without it, then use corner punches for a softer look.
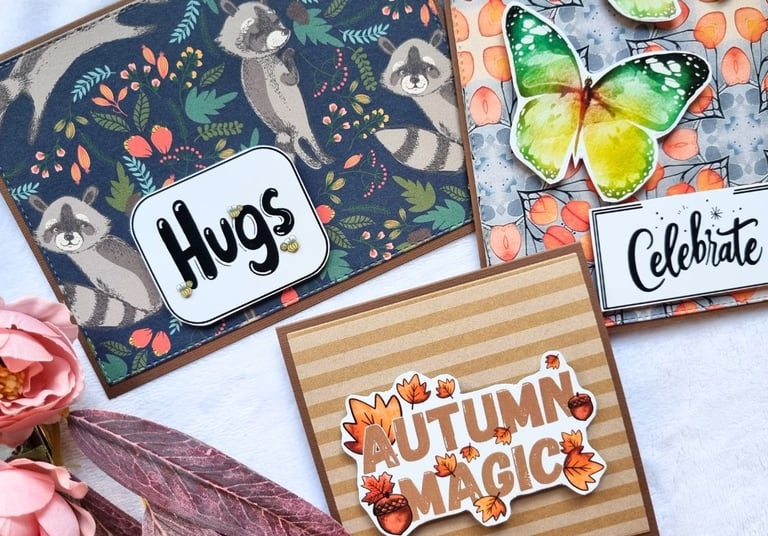
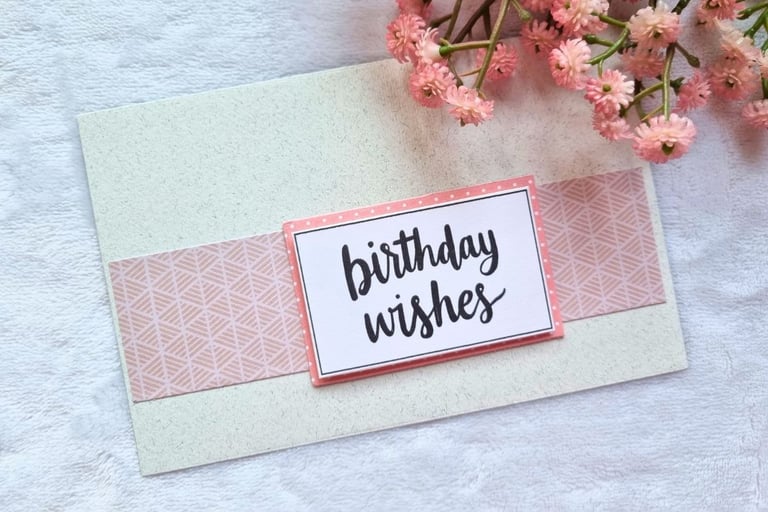
Pair with die cuts – If you have a die cut shape that matches the sentiment size (like a stitched square), cut directly from the sentiment sheet or mount the sentiment onto the die cut shape with glue or foam tape.
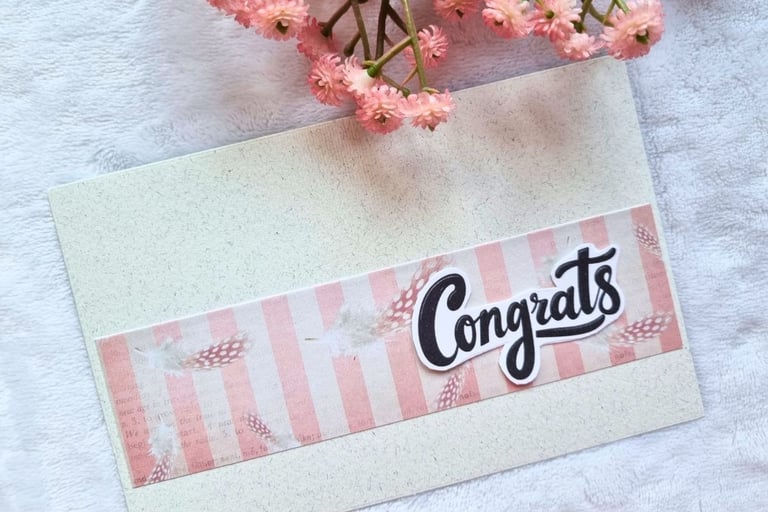

Fussy cut the sentiment – For a custom, detailed look, carefully cut around the exact shape of the sentiment text or design. This can be tricky, so a pair of sharp, precision scissors is a must. It takes more time, but the result looks beautifully tailored to your card.
Like these Printable Card Making Sentiments?
Here are my card making sentiments that can help you make quick and easy handmade cards.
For more card making printables, visit my card making section in my store. Card making kits, sentiments, sketches - it's all there.
Add doodles – Draw dots, lines, or tiny stars with a black pen around the text to make it playful.
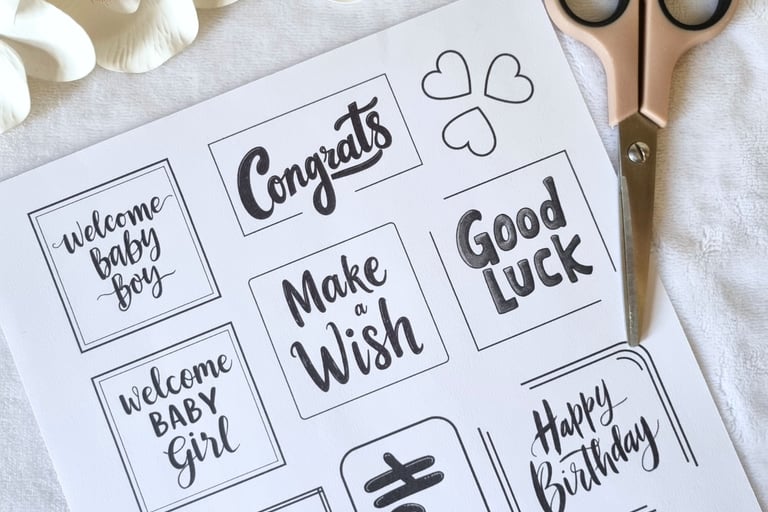
Combine two sentiments – Use one on the card front and another inside. For example:
“Hello” + “Welcome Baby”
“Miss You” + “Get Well Soon”
“Hugs” + “Just for You”
“Congrats” + “Cheers to You”
“Yay” + “Good Luck”
“Smile” + “It’s Your Birthday”

Layer with vellum – Place the sentiment under a piece of translucent vellum for a soft, elegant look.
Turn them into stickers – Print on sticker sheets to seal envelopes or decorate the back of your cards.
Attach embellishments – Add tiny rhinestones, or other small decorations to highlight the sentiment.
Go beyond cards – Printable sentiments aren’t just for greeting cards! Use them to decorate explosion boxes, scrapbook pages, junk journals, photo albums, pop-up cards, or even turn them into small bookmarks. You can also attach them to a gift box, wrapped present, or gift bag for an extra special touch.
And honestly, I could keep going! That’s the beauty of card making and crafting: ideas are endless, and every crafter can find their own twist.
Happy crafting!